

iClicker
iClicker is a responsive teaching and learning tool that incorporates clickers, mobile phone clicker usage, GPS attendance, polling/quizzing, and study guides. iClicker provides real-time feedback from students, and promotes active learning.
To create an account, visit the iClicker website and select “create an account” in the upper right of the page.
With iClicker, a toolbar floats above instructor content and allows the instructor to ask multiple choice, short answer, numeric and target questions on the fly. Instructors do not input the text of questions into the clicker system ahead of time.
NOTE: If you as an instructor have existing TurningPoint questions, you can continue to use the PowerPoint slides, although you may want to remove the bar graph.
iClicker for Students
1. Create a student account.
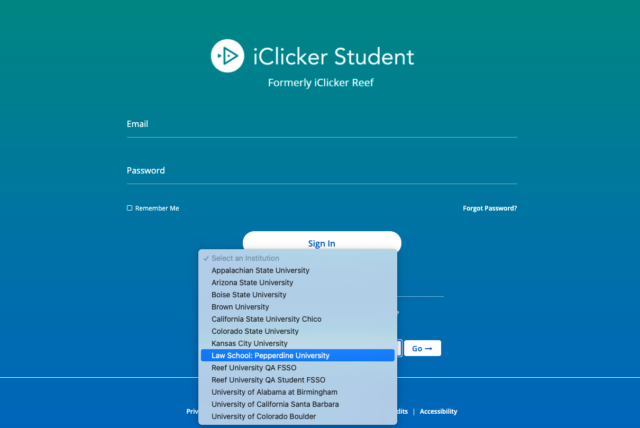
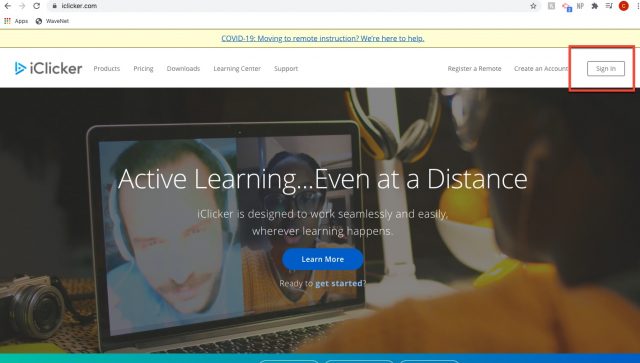
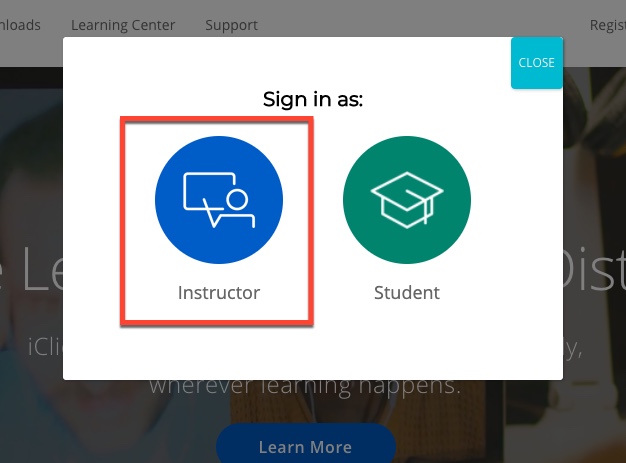
In a browser, go to the iClicker website and choose Sign In from the top right corner and then Student.


2. At the bottom of the screen, select Law School: Pepperdine University from the institution options and then select Go.
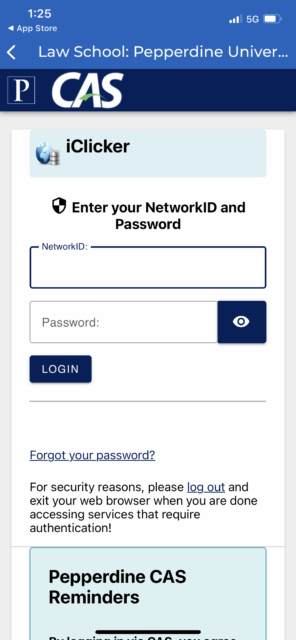
3. You will then be directed to the CAS campus portal. Log in using your CAS Login username and password.

4. You’ll then be directed back to iClicker student account setup page. If you already have a student account, you will be prompted to enter your iClicker password again (same as Wavenet password) to link the accounts.
Adding a Course
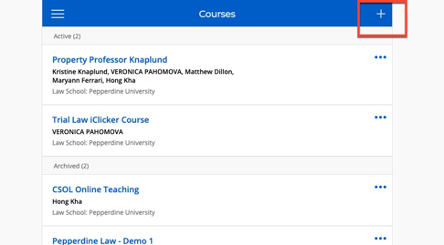
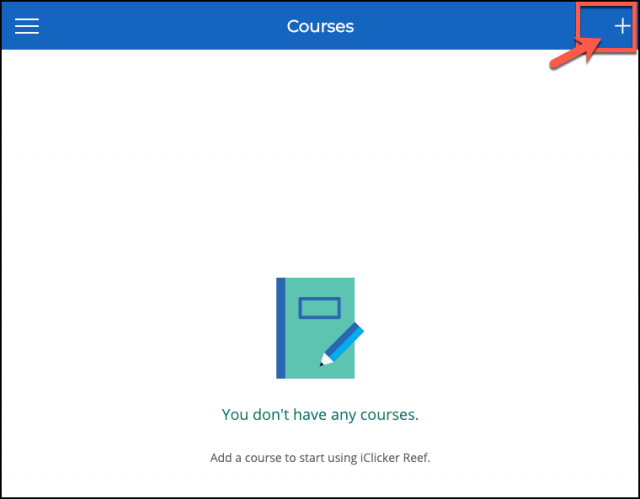
1. Click the plus sign at the top right corner of your iClicker Student account
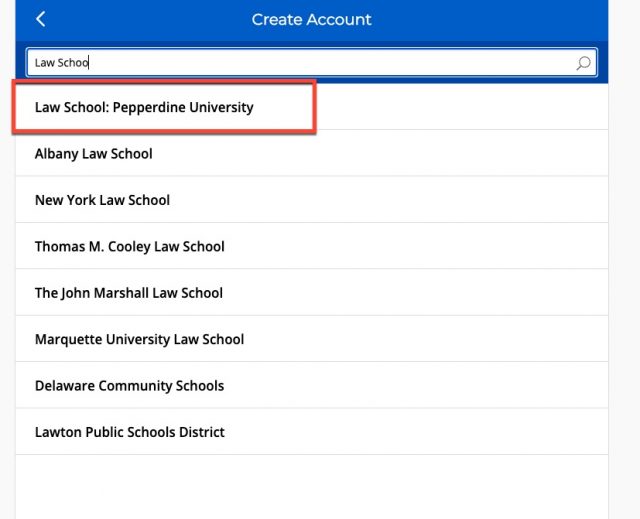
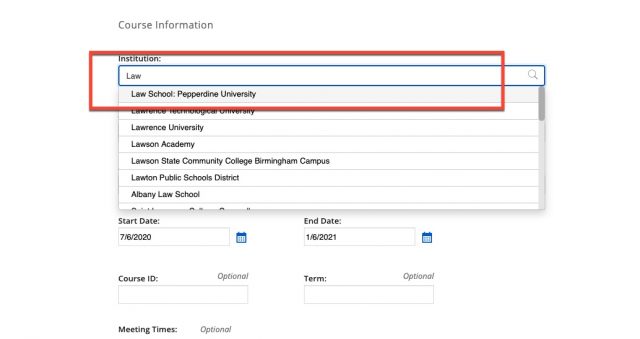
2. When prompted for an institution, type Law School: Pepperdine University. Ensure that you do not choose simply “Pepperdine University” as that is not the version used by Caruso School of Law.
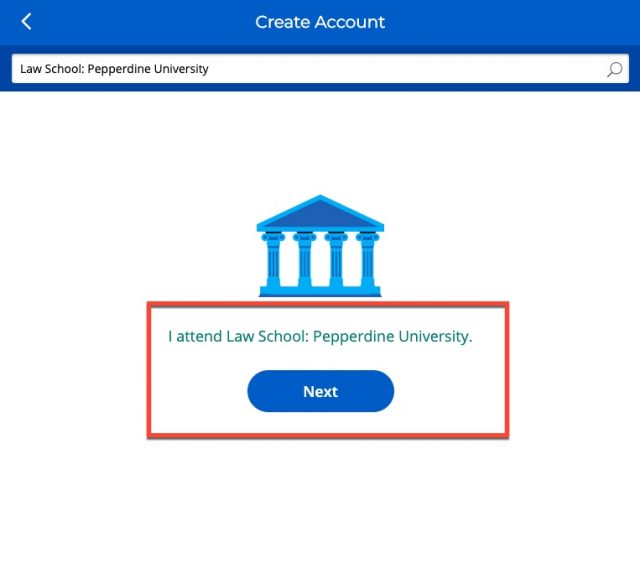
3. Click “Next” to confirm. The prompt should indicate that you attend Law School: Pepperdine University.
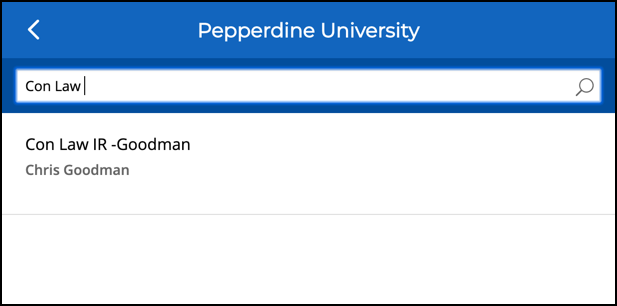
4. Next, type in either the name of your course or your instructor. Note: if the course does not appear, reach out to your instructor as they may have created the course in “Pepperdine University” instead of “Law School: Pepperdine University”.
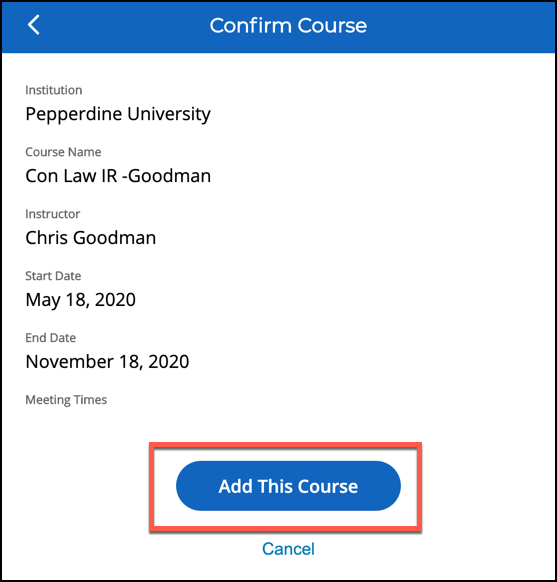
5. Finally, confirm that the course is correct, and then click Add this Course.

iClicker on your Mobile Device
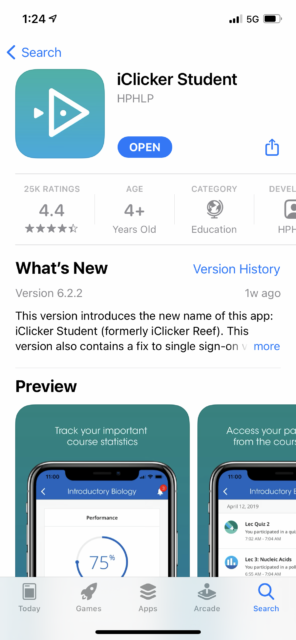
Download the iClicker Student app from the app store to your mobile device.
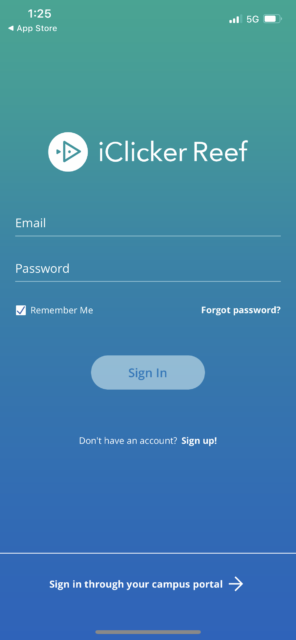
At the bottom of the login page, choose “Sign in through your campus portal”
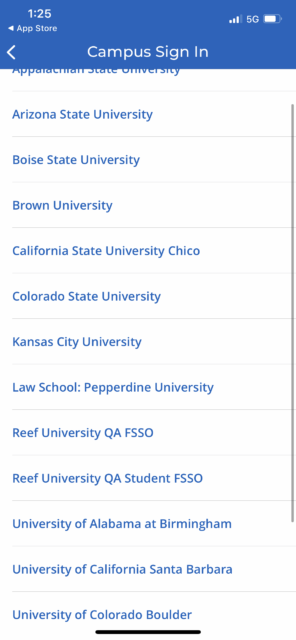
Select Law School: Pepperdine University
Login with your Wavenet account at the CAS screen.
Add a course by clicking the plus sign in the top right of your screen.
9. Under “Find your institution”, find Law School: Pepperdine University.

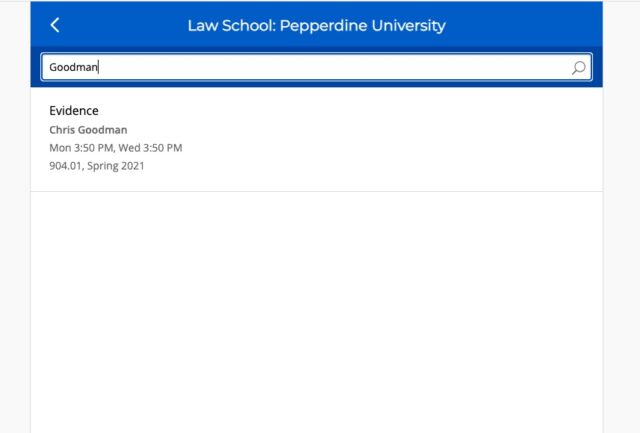
10. Find your course by typing in the course name OR professor name. It will show up when you start typing. Then select it from the options listed.
11. Check to see the information is correct, then add the course.
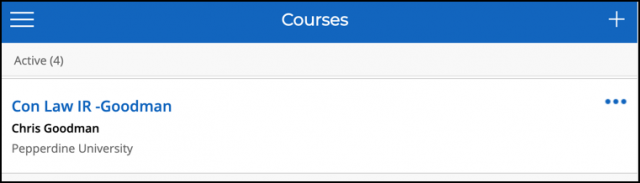
12. Now, under course lists, your class should appear.
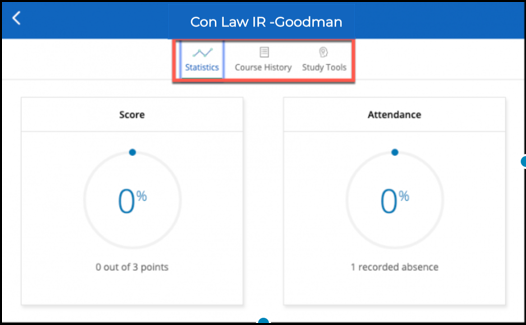
13. Note the major benefit of using iClicker: study tools. Once you enter a class, on the top toolbar region will be listed course history, statistics, and study tools to aid in tracking your progression!
For more information on iClicker for students, please click here.
iClicker for Faculty
This page will walk you through setting up an iClicker account, so that you may begin to create your courses.
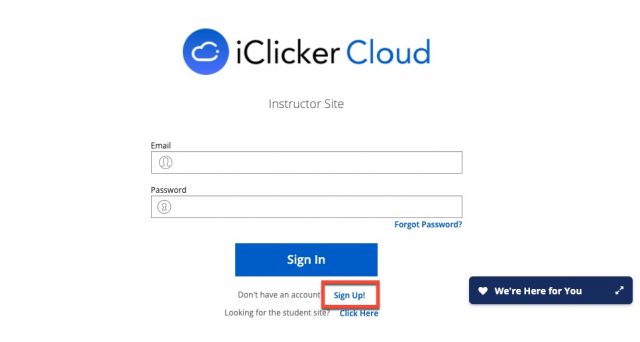
- In a web browser, navigate to iclicker.com and click Sign In in the top right corner.
2. Click Instructor.
3. You will be directed to iClicker Cloud, which is the platform for instructors and faculty. Click Sign Up underneath the Sign Up button to create your account.
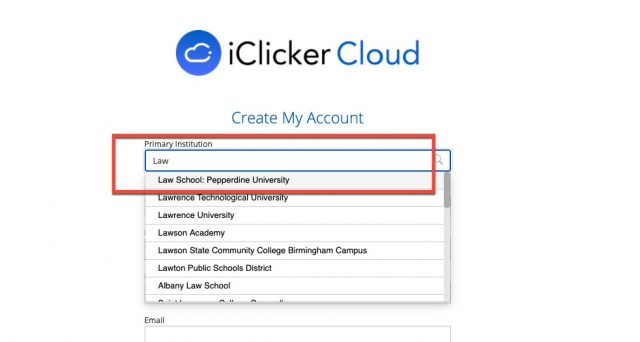
4. You will be asked to begin creating your profile. NOTE: Make sure to type in Law School: Pepperdine University as your primary institution. The label “Pepperdine University” is not the version paid for by CSOL.
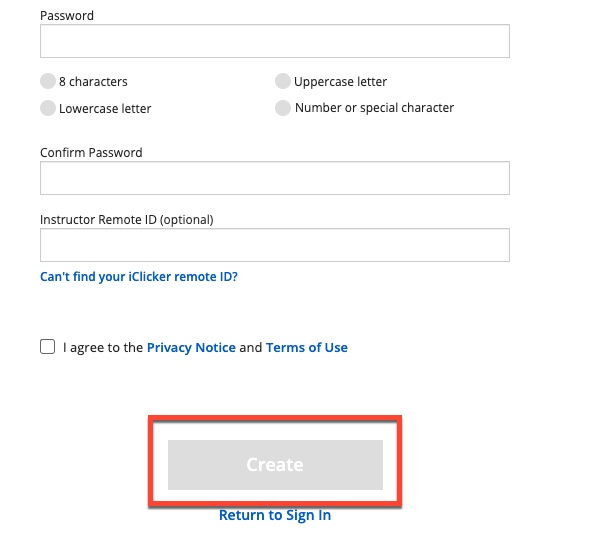
5. Continue to fill out the information and click the box agreement to iClicker’s policies. Then, click Create.
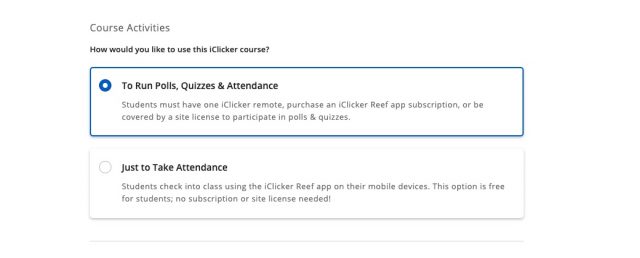
6. In the next page, make sure you have the option for Polls, Quizzes, and Attendance selected. You do not need to use all of those features, but if you select “Just to take attendance”, you will not be able to change your settings later.
7. Again, you will be prompted to select an institution. DELETE “Pepperdine University” and TYPE IN Law School: Pepperdine University.
8. Fill out the rest of your course information (optional) then click Create.
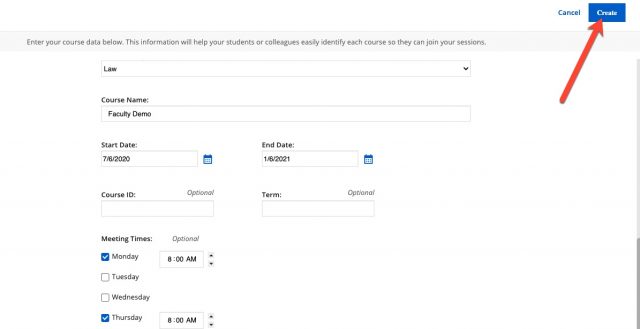
9. Congratulations, you now have a course! By clicking on the course name, you will be directed to the course itself.

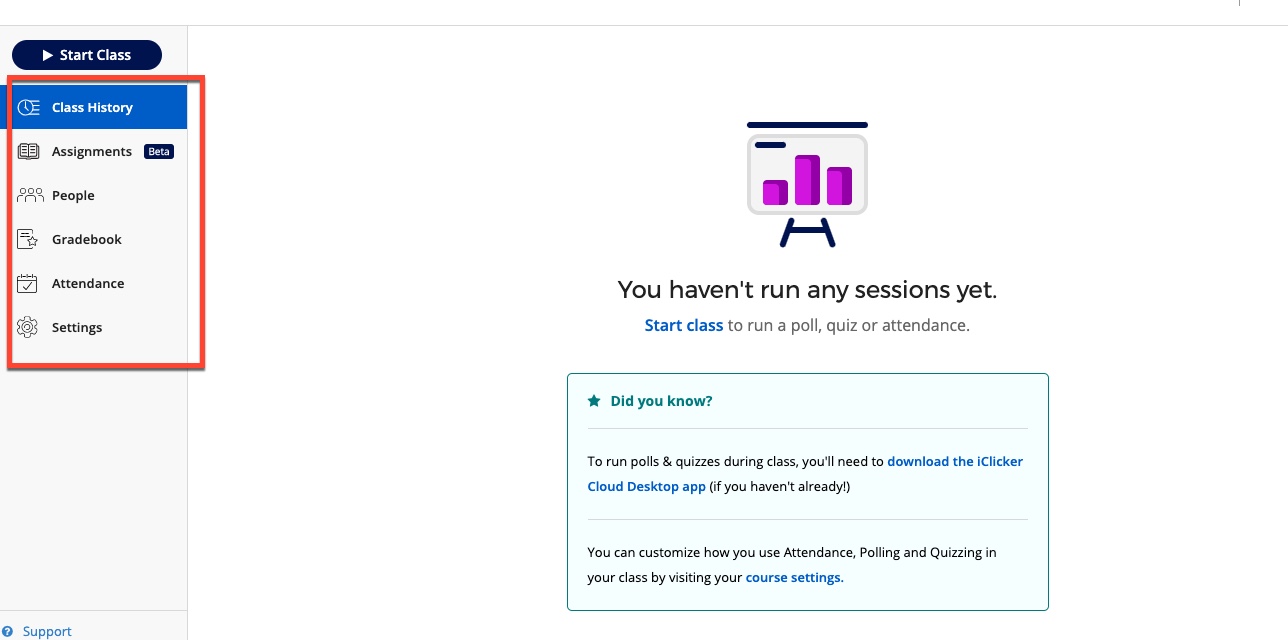
Note that on the left-hand side of your course, you can find the class history where attendance and statistics will be held, assignments, and more.
IClicker Cloud Application
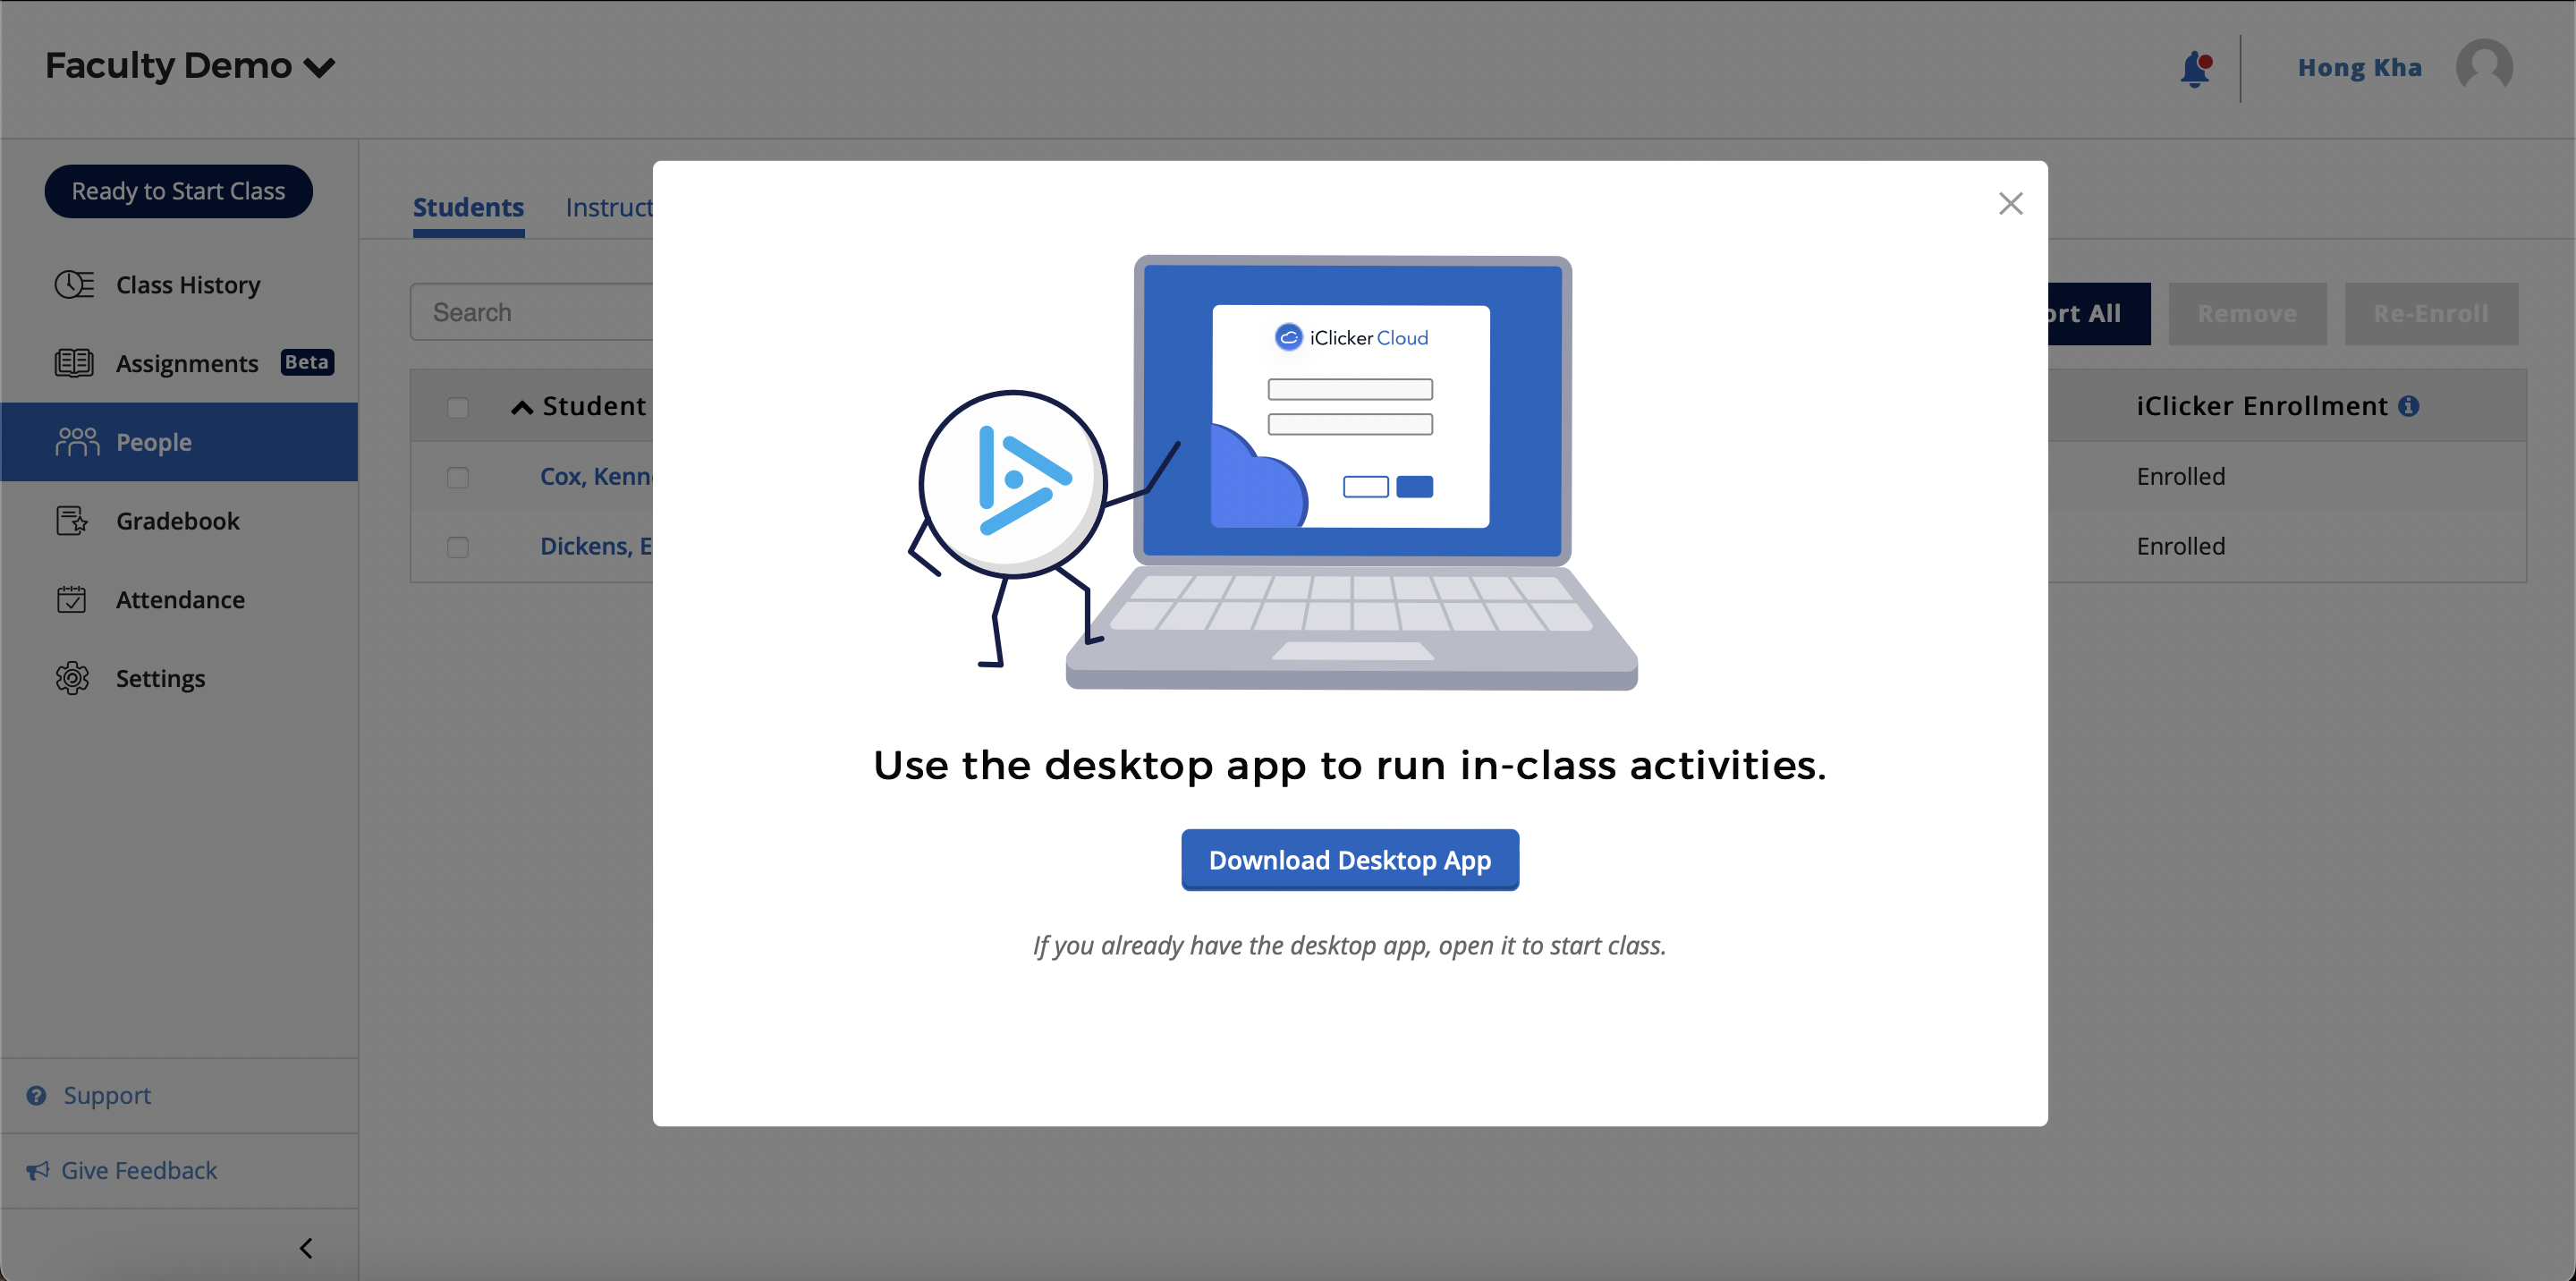
In order to start class and use the tools in IClicker, you must download the IClicker Cloud application. In order to download, navigate to your class menu in your browser, select the blue “Ready to Start Class” button in the top right corner of your screen and select to download the desktop app when prompted.
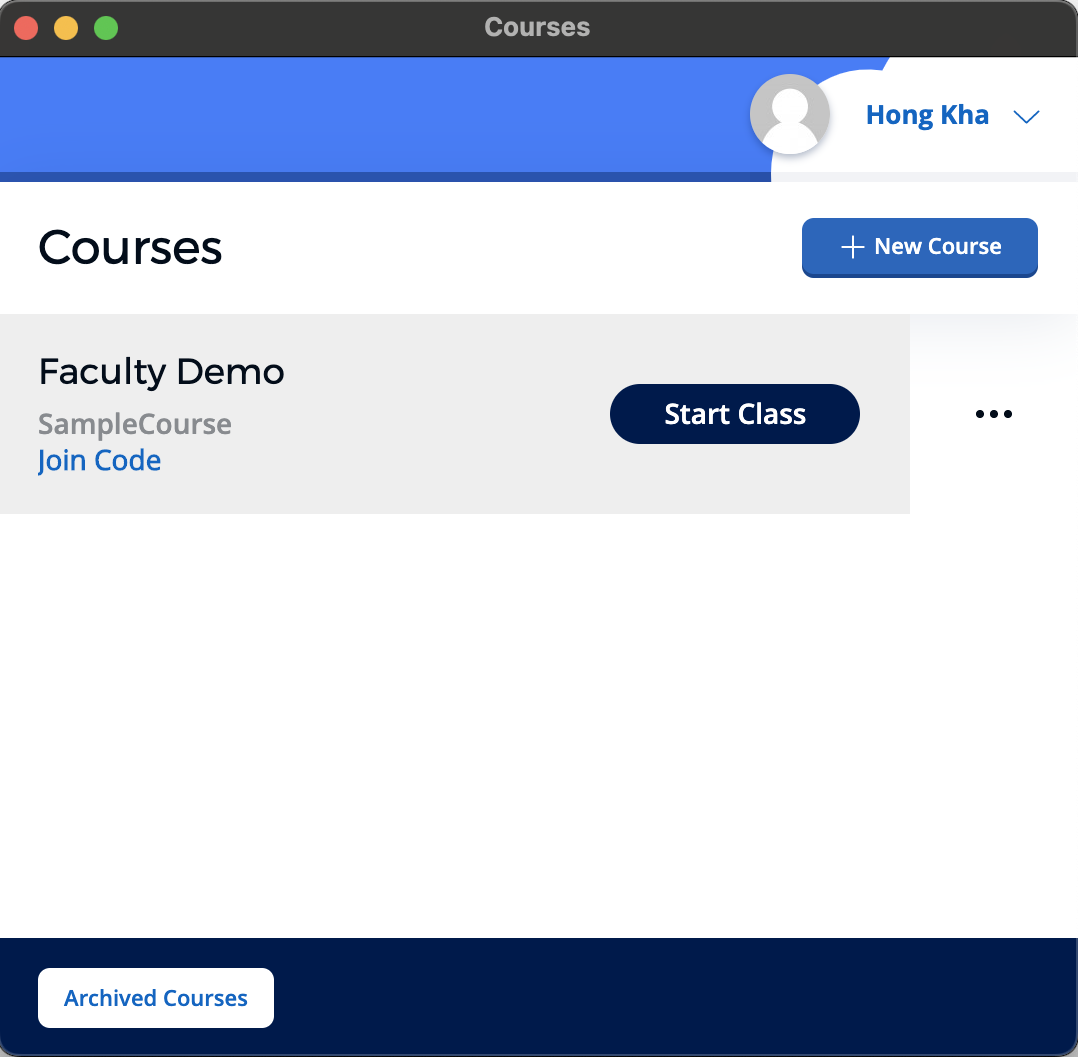
After downloading the desktop app, it should open to the menu shown below with a list of your classes and an option to create a new course. Hover over a course name to show the “Start Class” option. Additionally you can find the class join code from this screen to add students to your class.
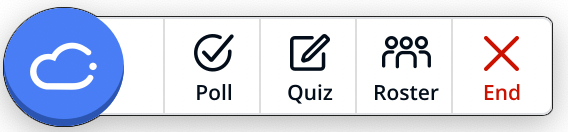
Once you start class, IClicker Cloud will open as a toolbar that you can drag around your desktop and collapse by clicking on the blue cloud icon. IClicker is meant to run in the background as you present, giving you the ability to quiz students, take attendance of what students have checked into class, conduct polls, and give assignments.
How to Add a Student to Your Class
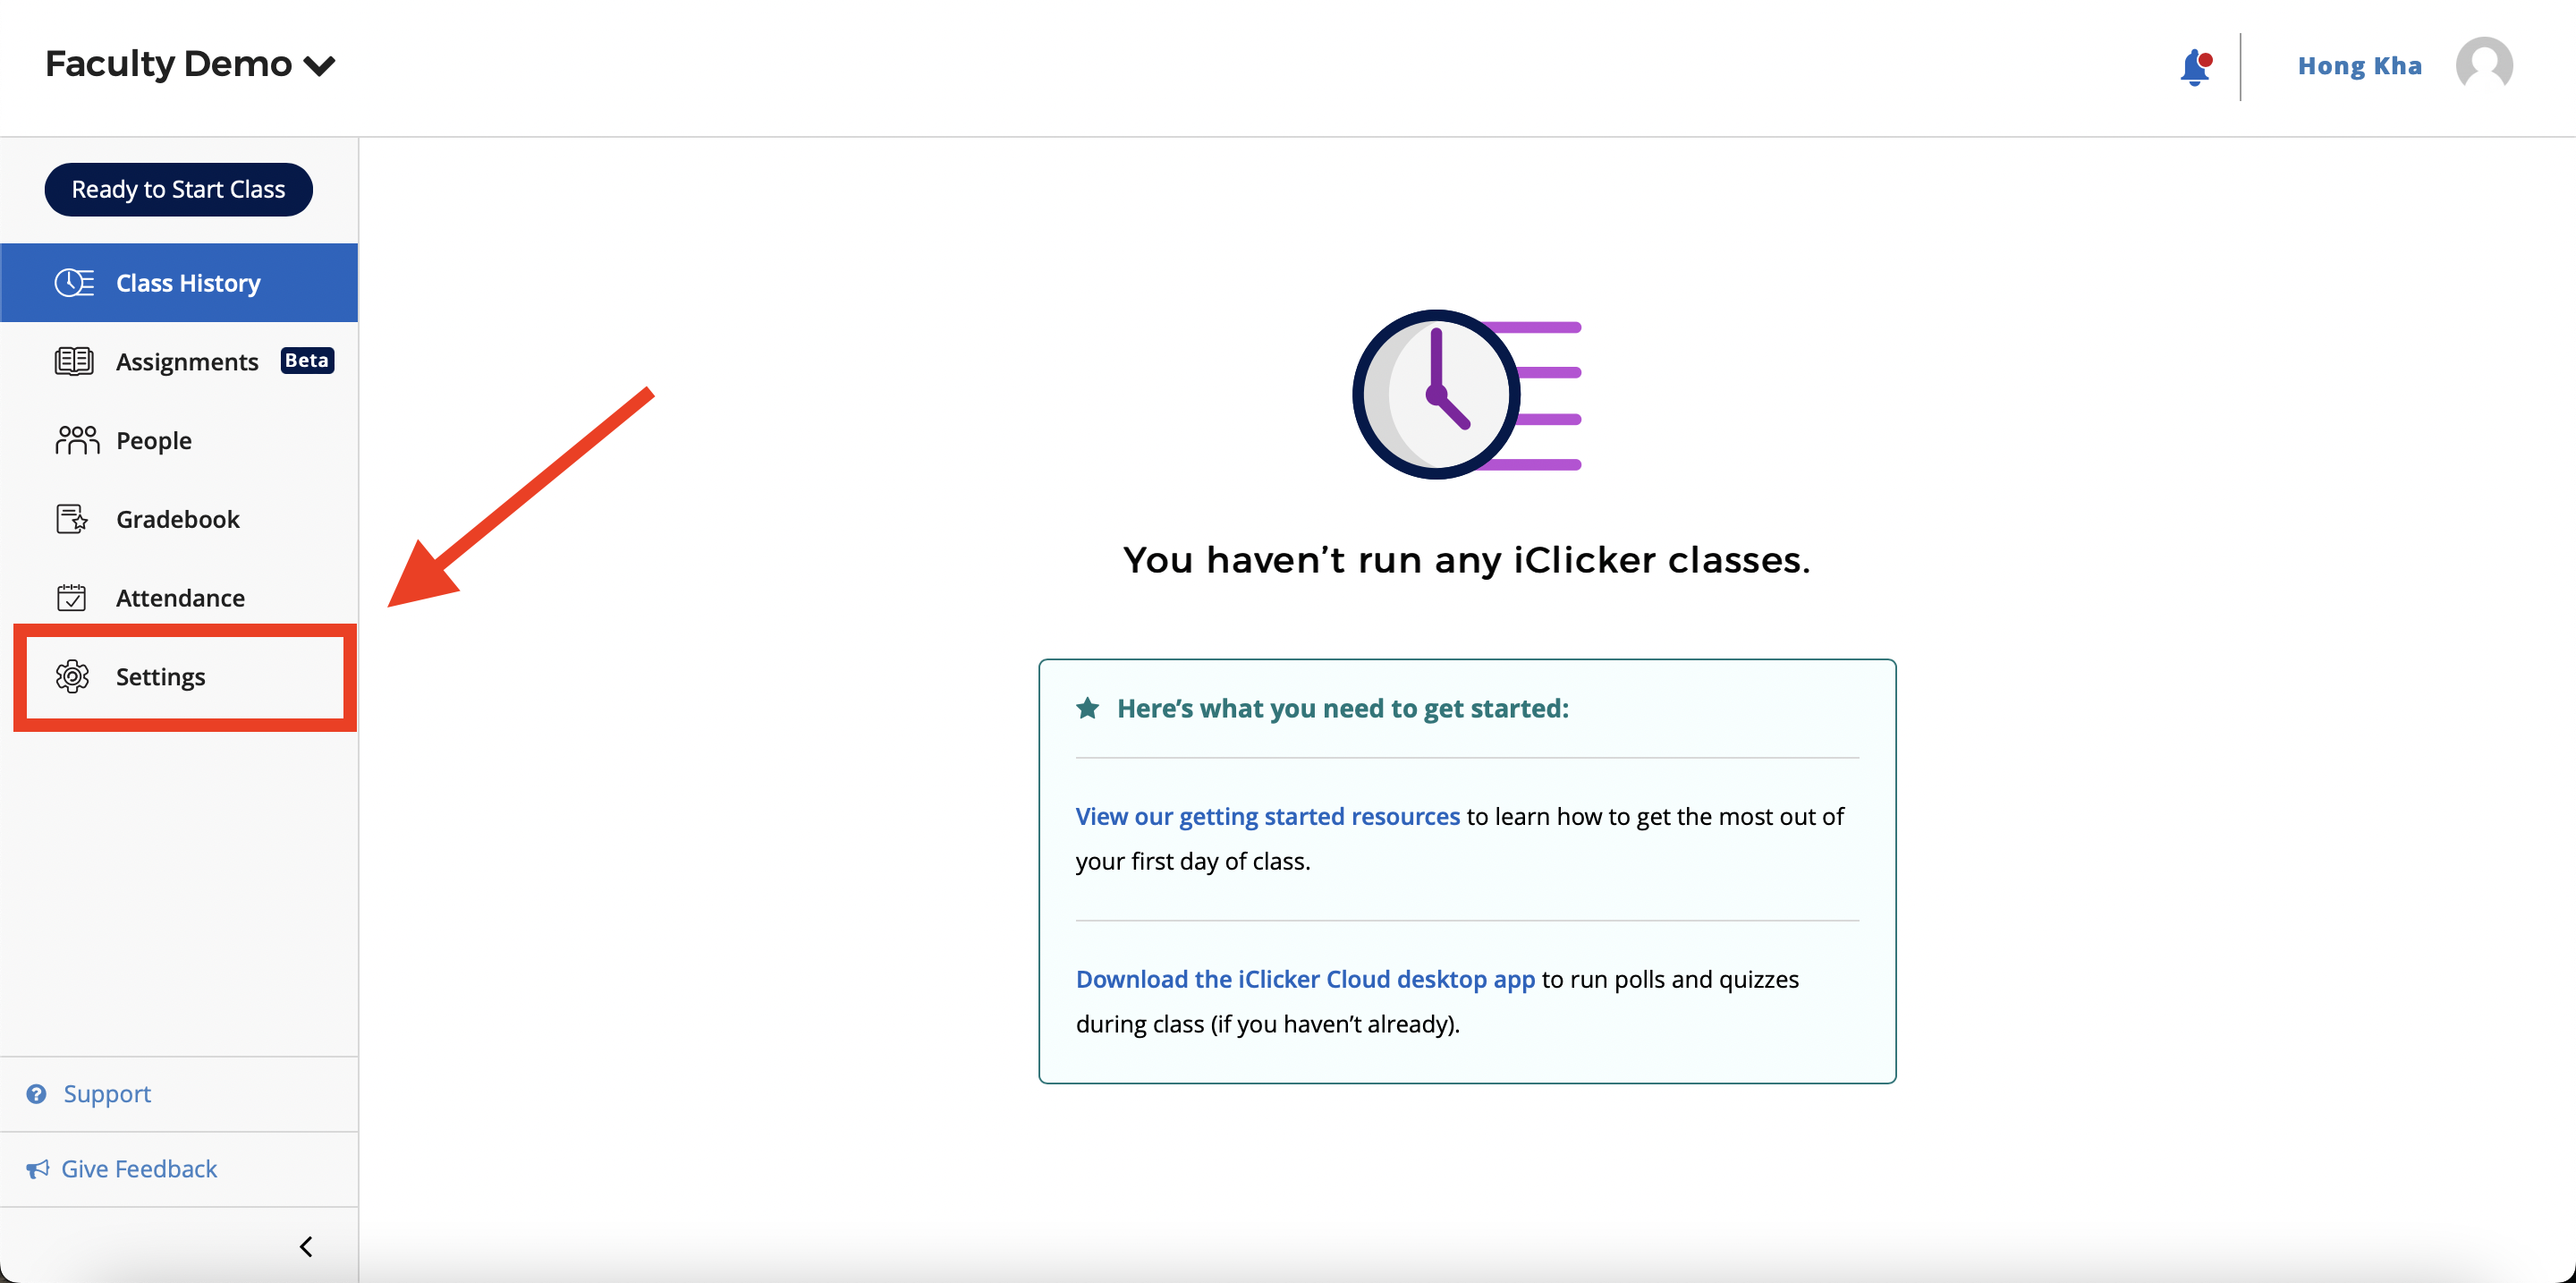
In order to add a student to an existing class, navigate to the settings tab in your class menu screen.
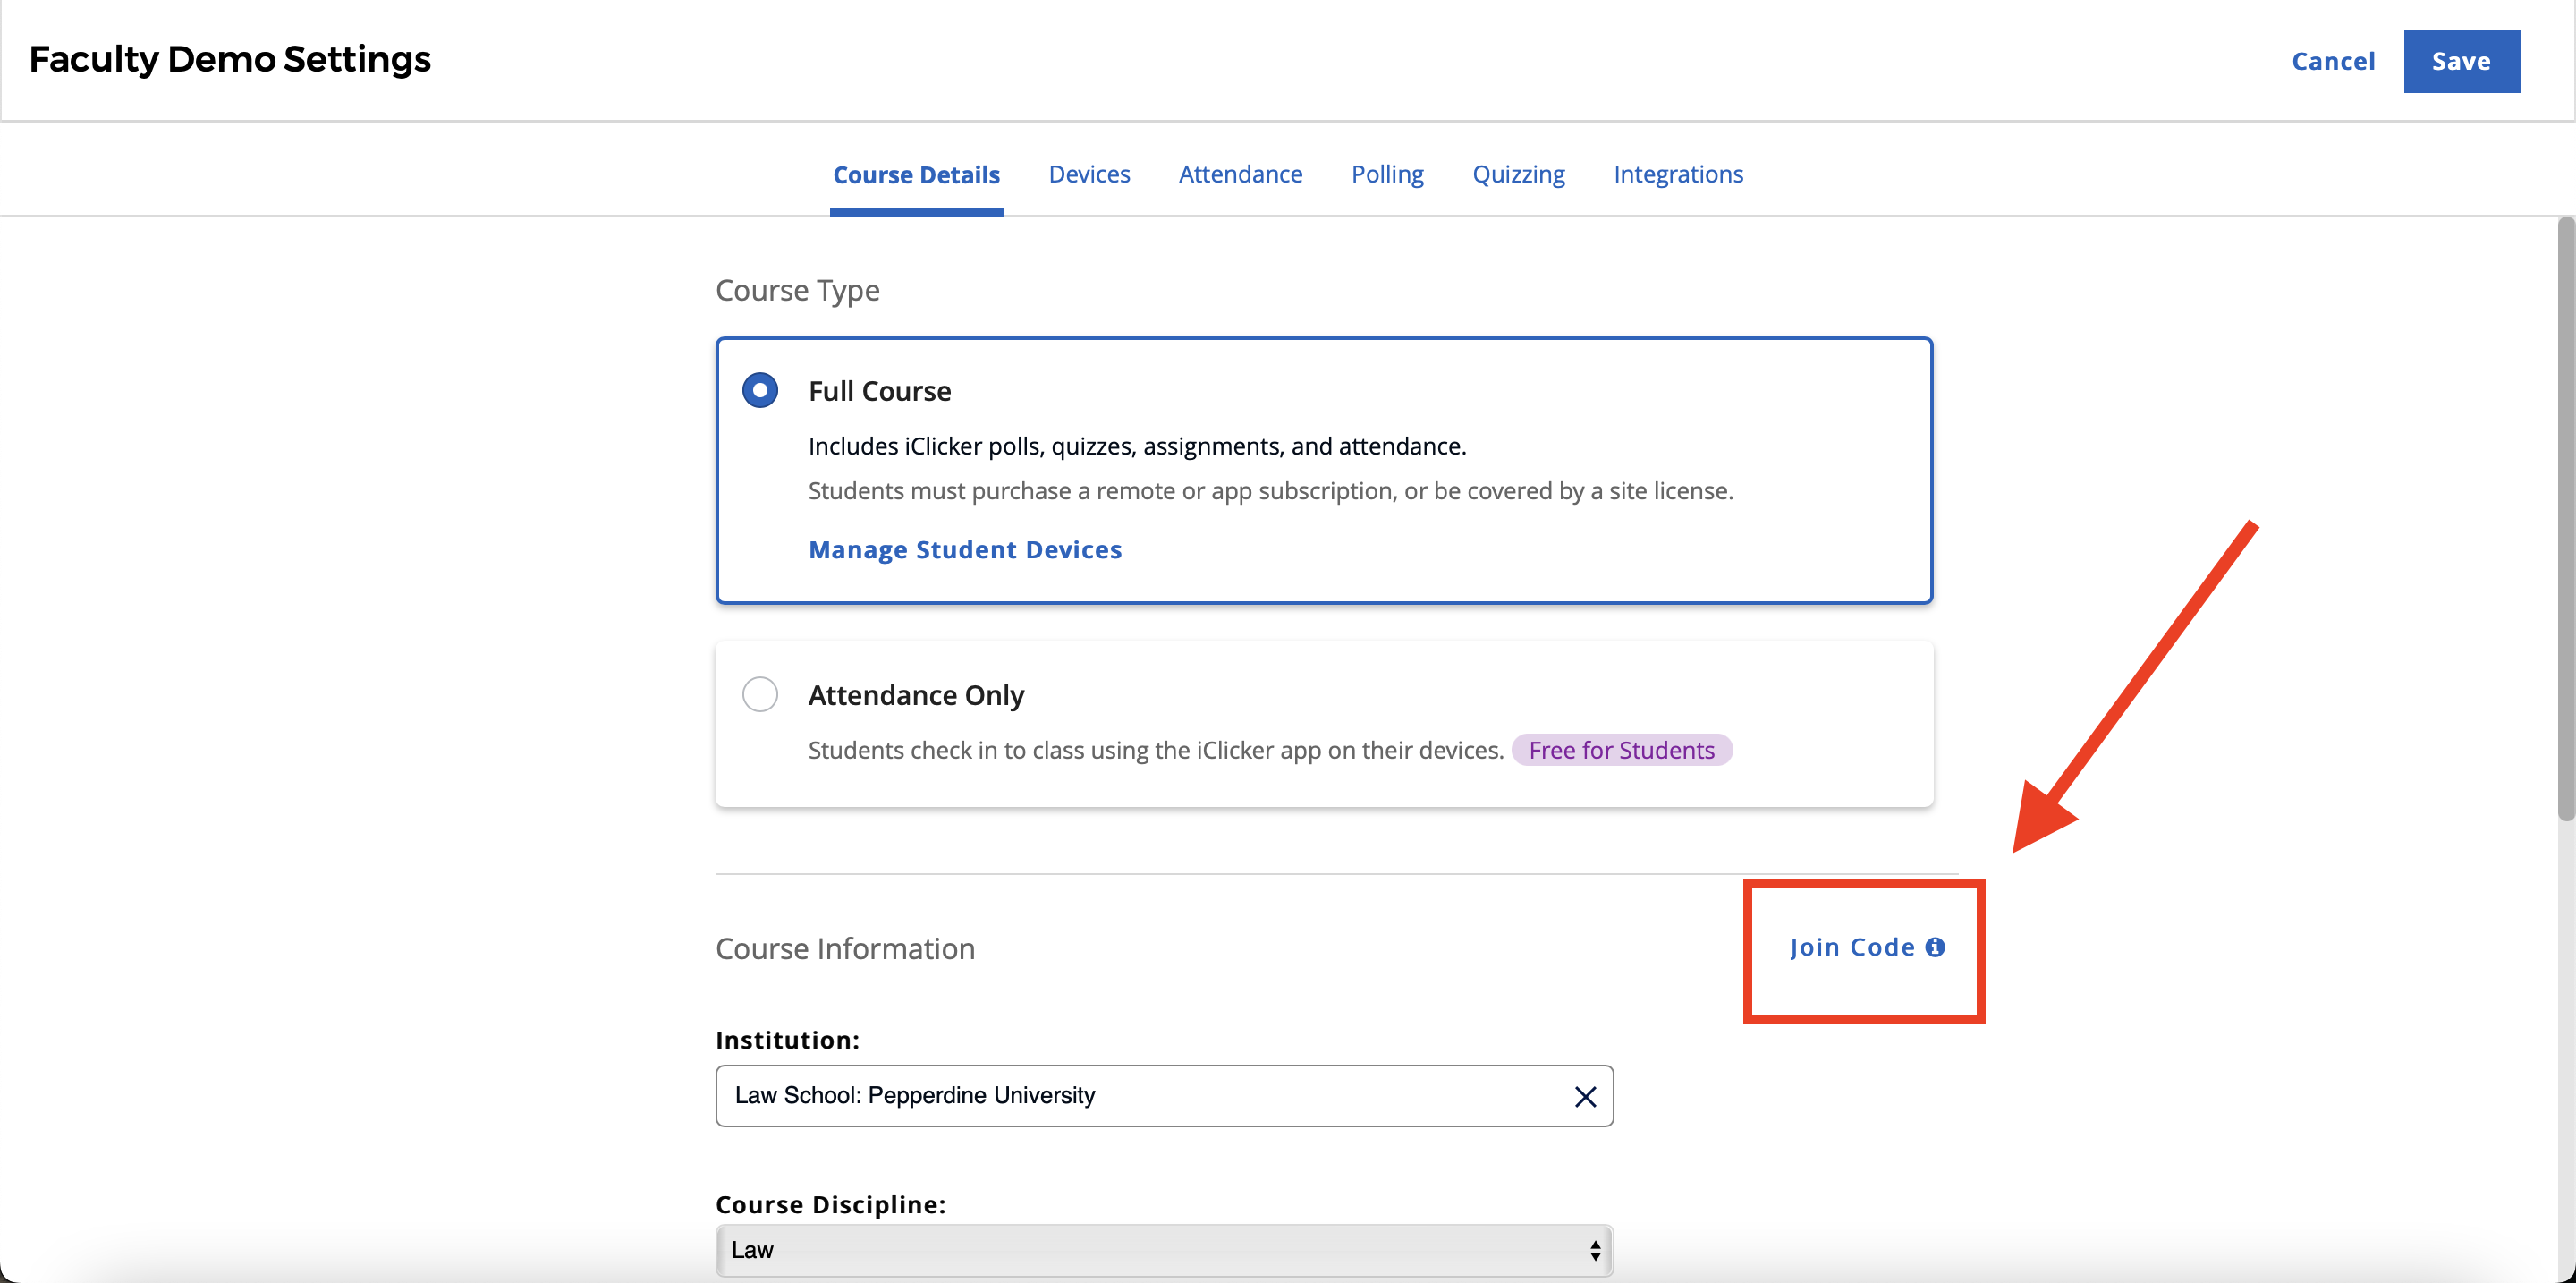
Next, find the “Join Code” link in the Course Details section. The link will redirect you to a pop up screen (note this may not automatically show up if you have pop ups blocked in your browser).
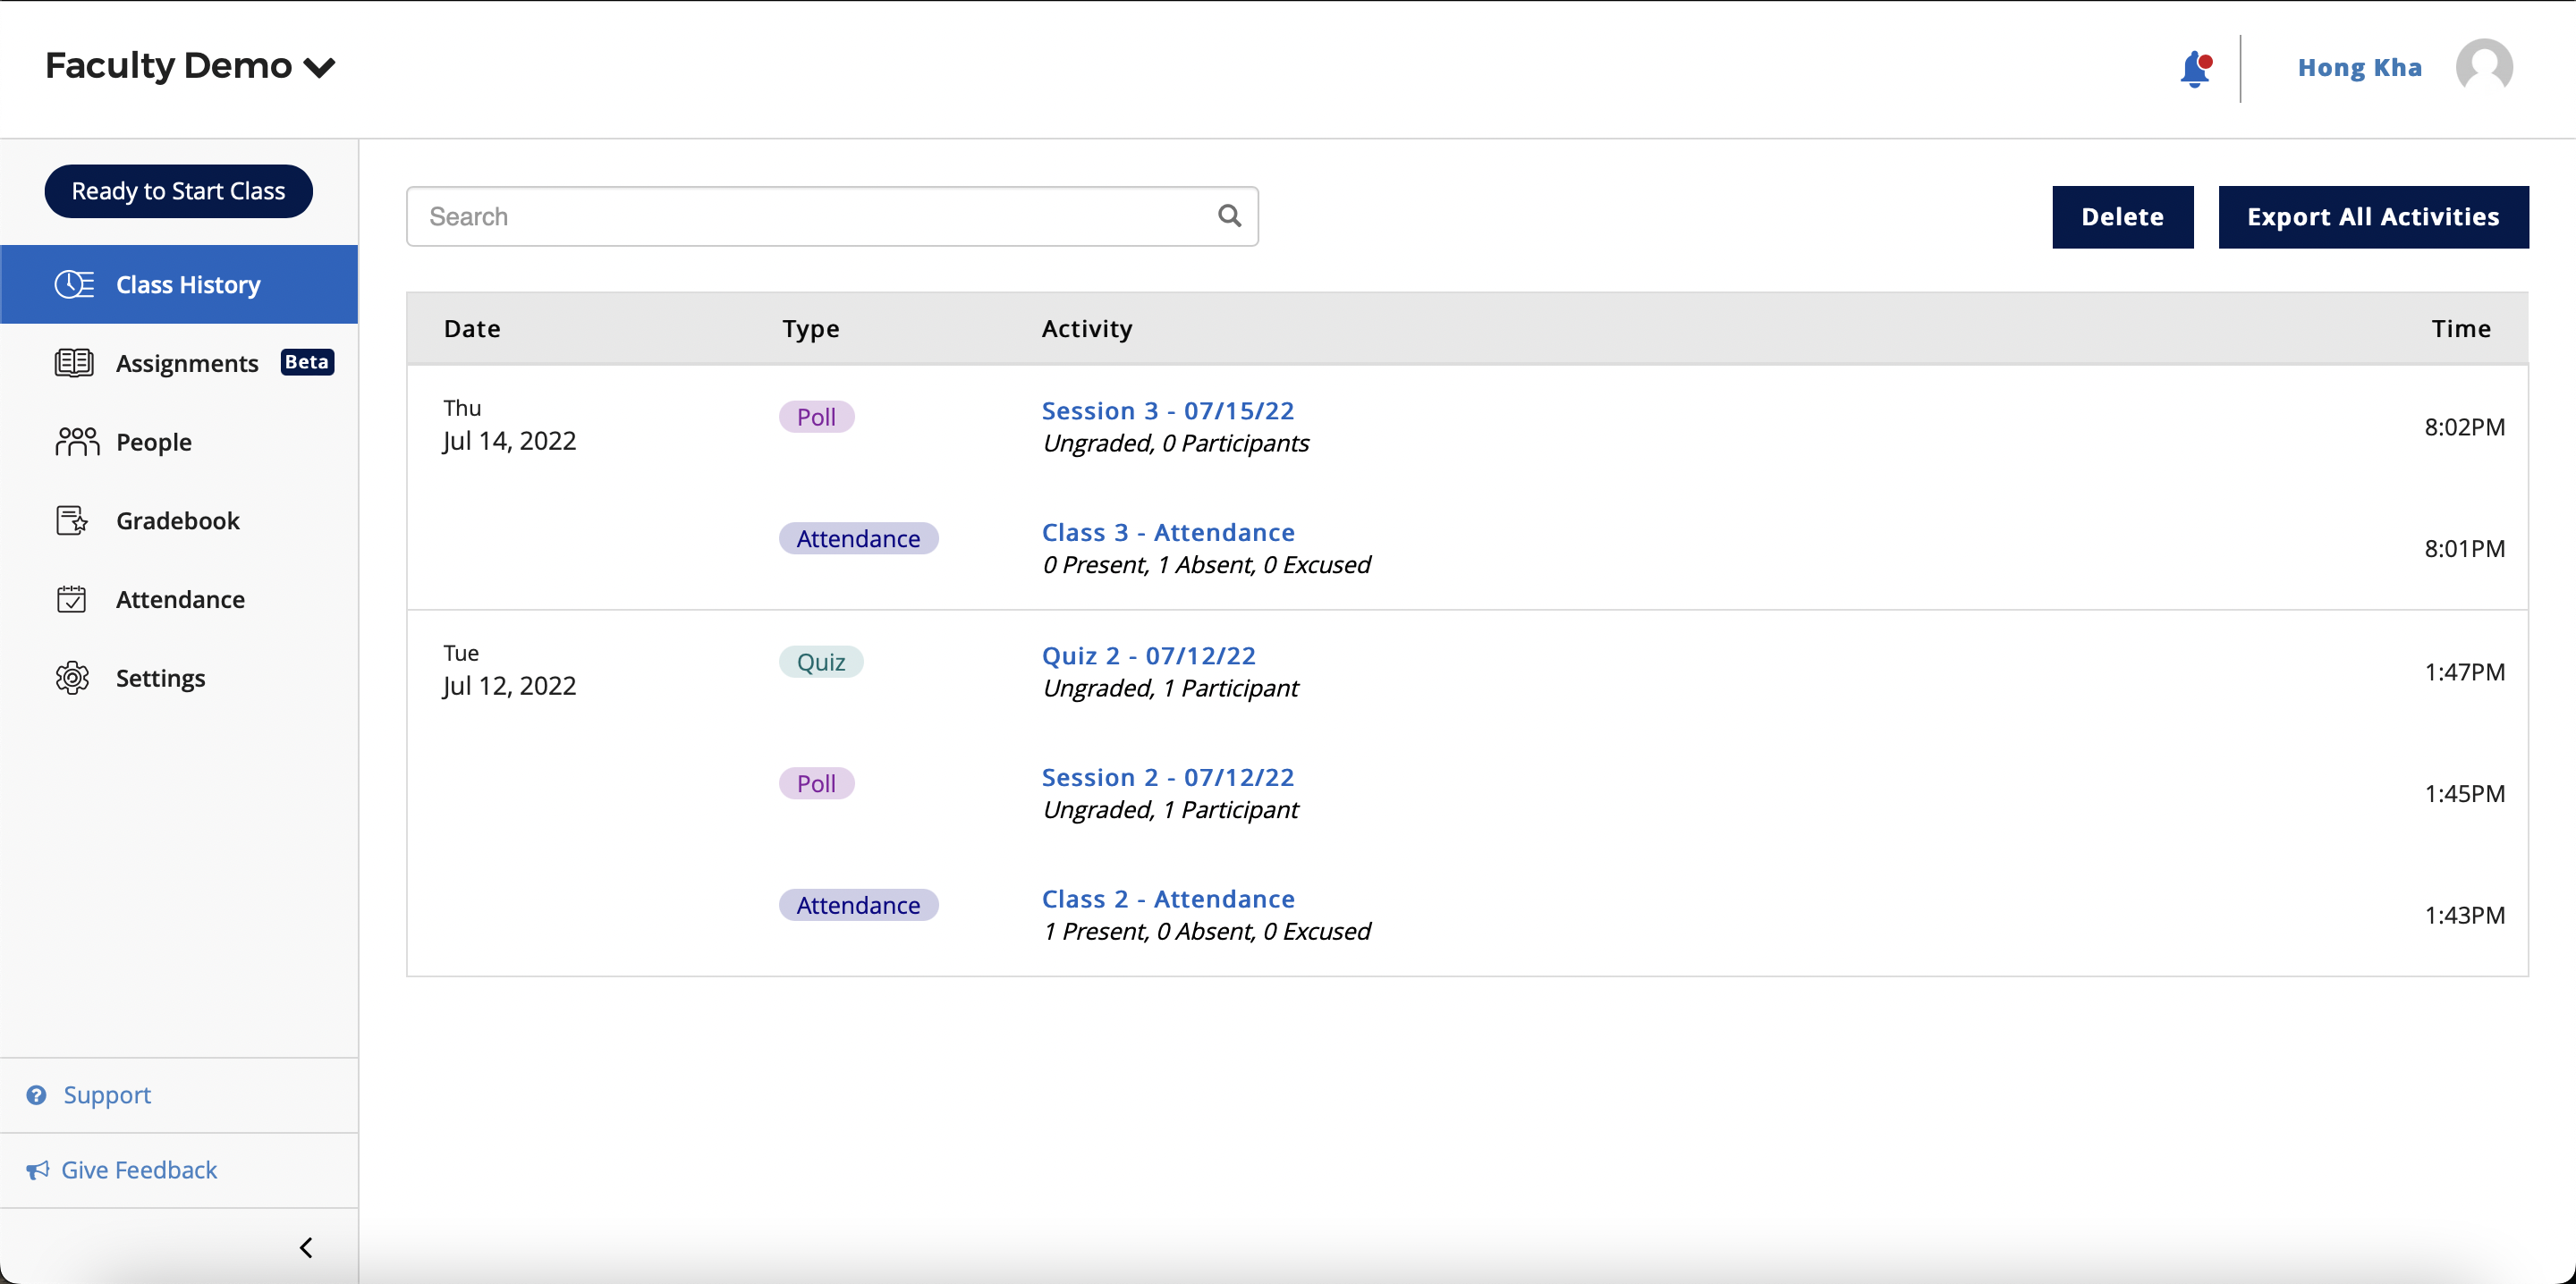
Class History
From the class history tab, you are able to see information about each class you have already completed. From here you can quickly see the attendance of each class, poll results, and quiz results. Clicking on each quiz, poll, or attendance will show more detailed information.
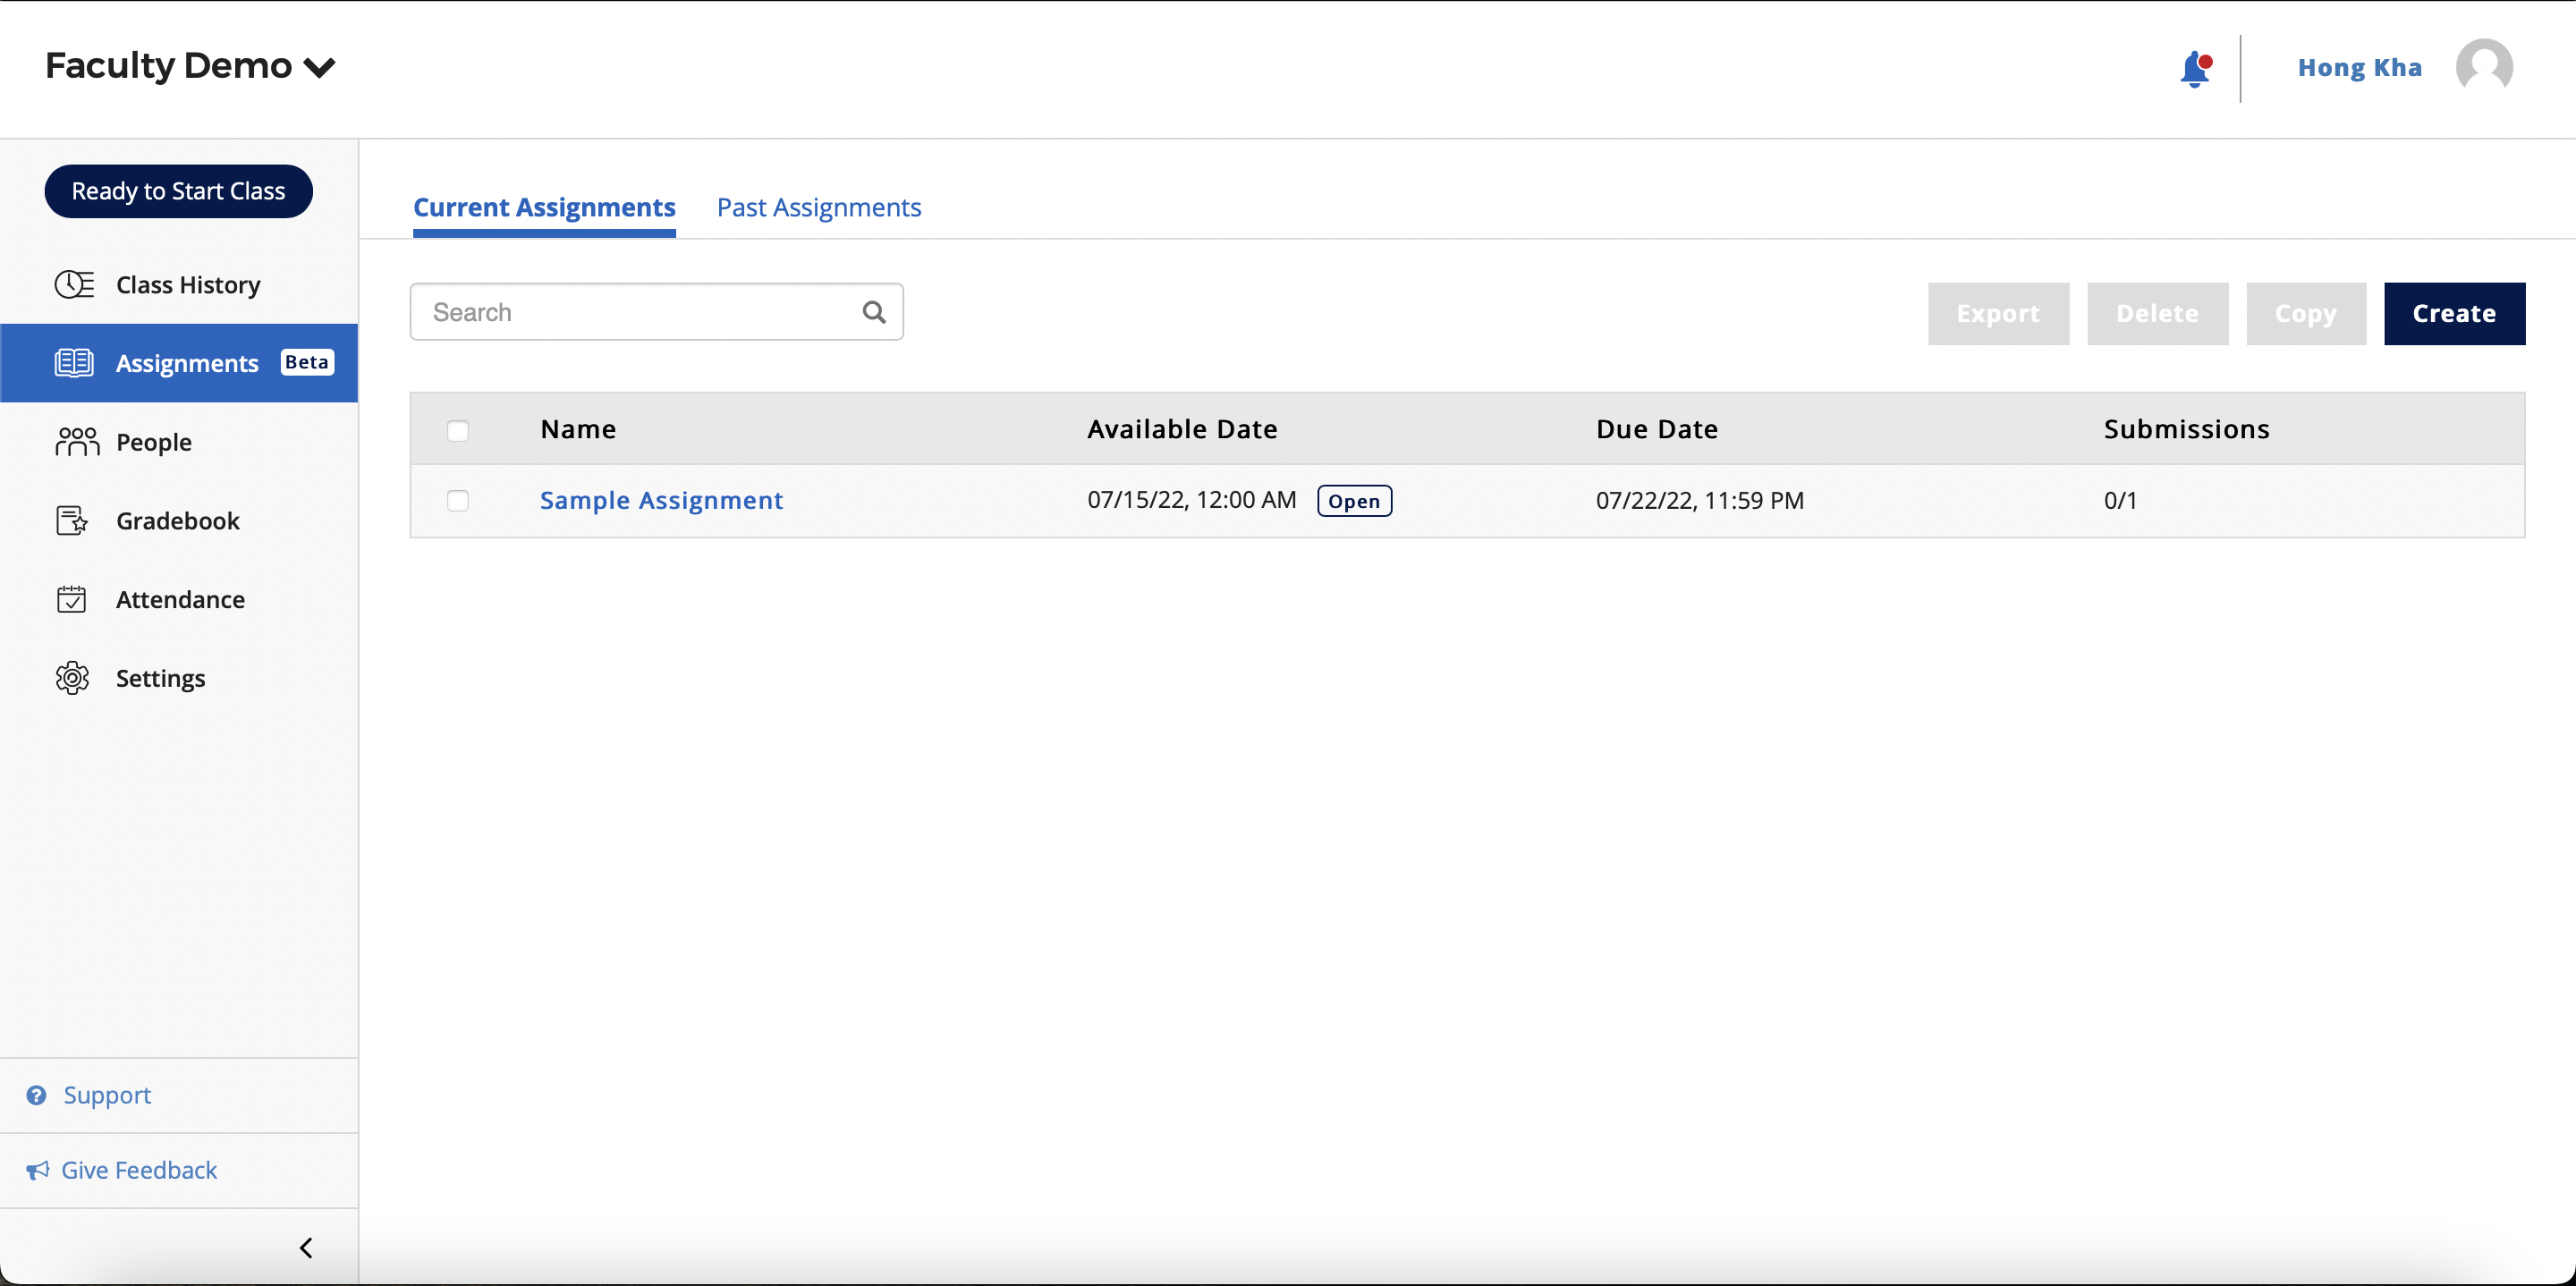
Assignments
Assignments in IClicker is a tool that allows you to post questions and get graded responses. Start by using the blue “Create” button in the top right of the assignments menu.
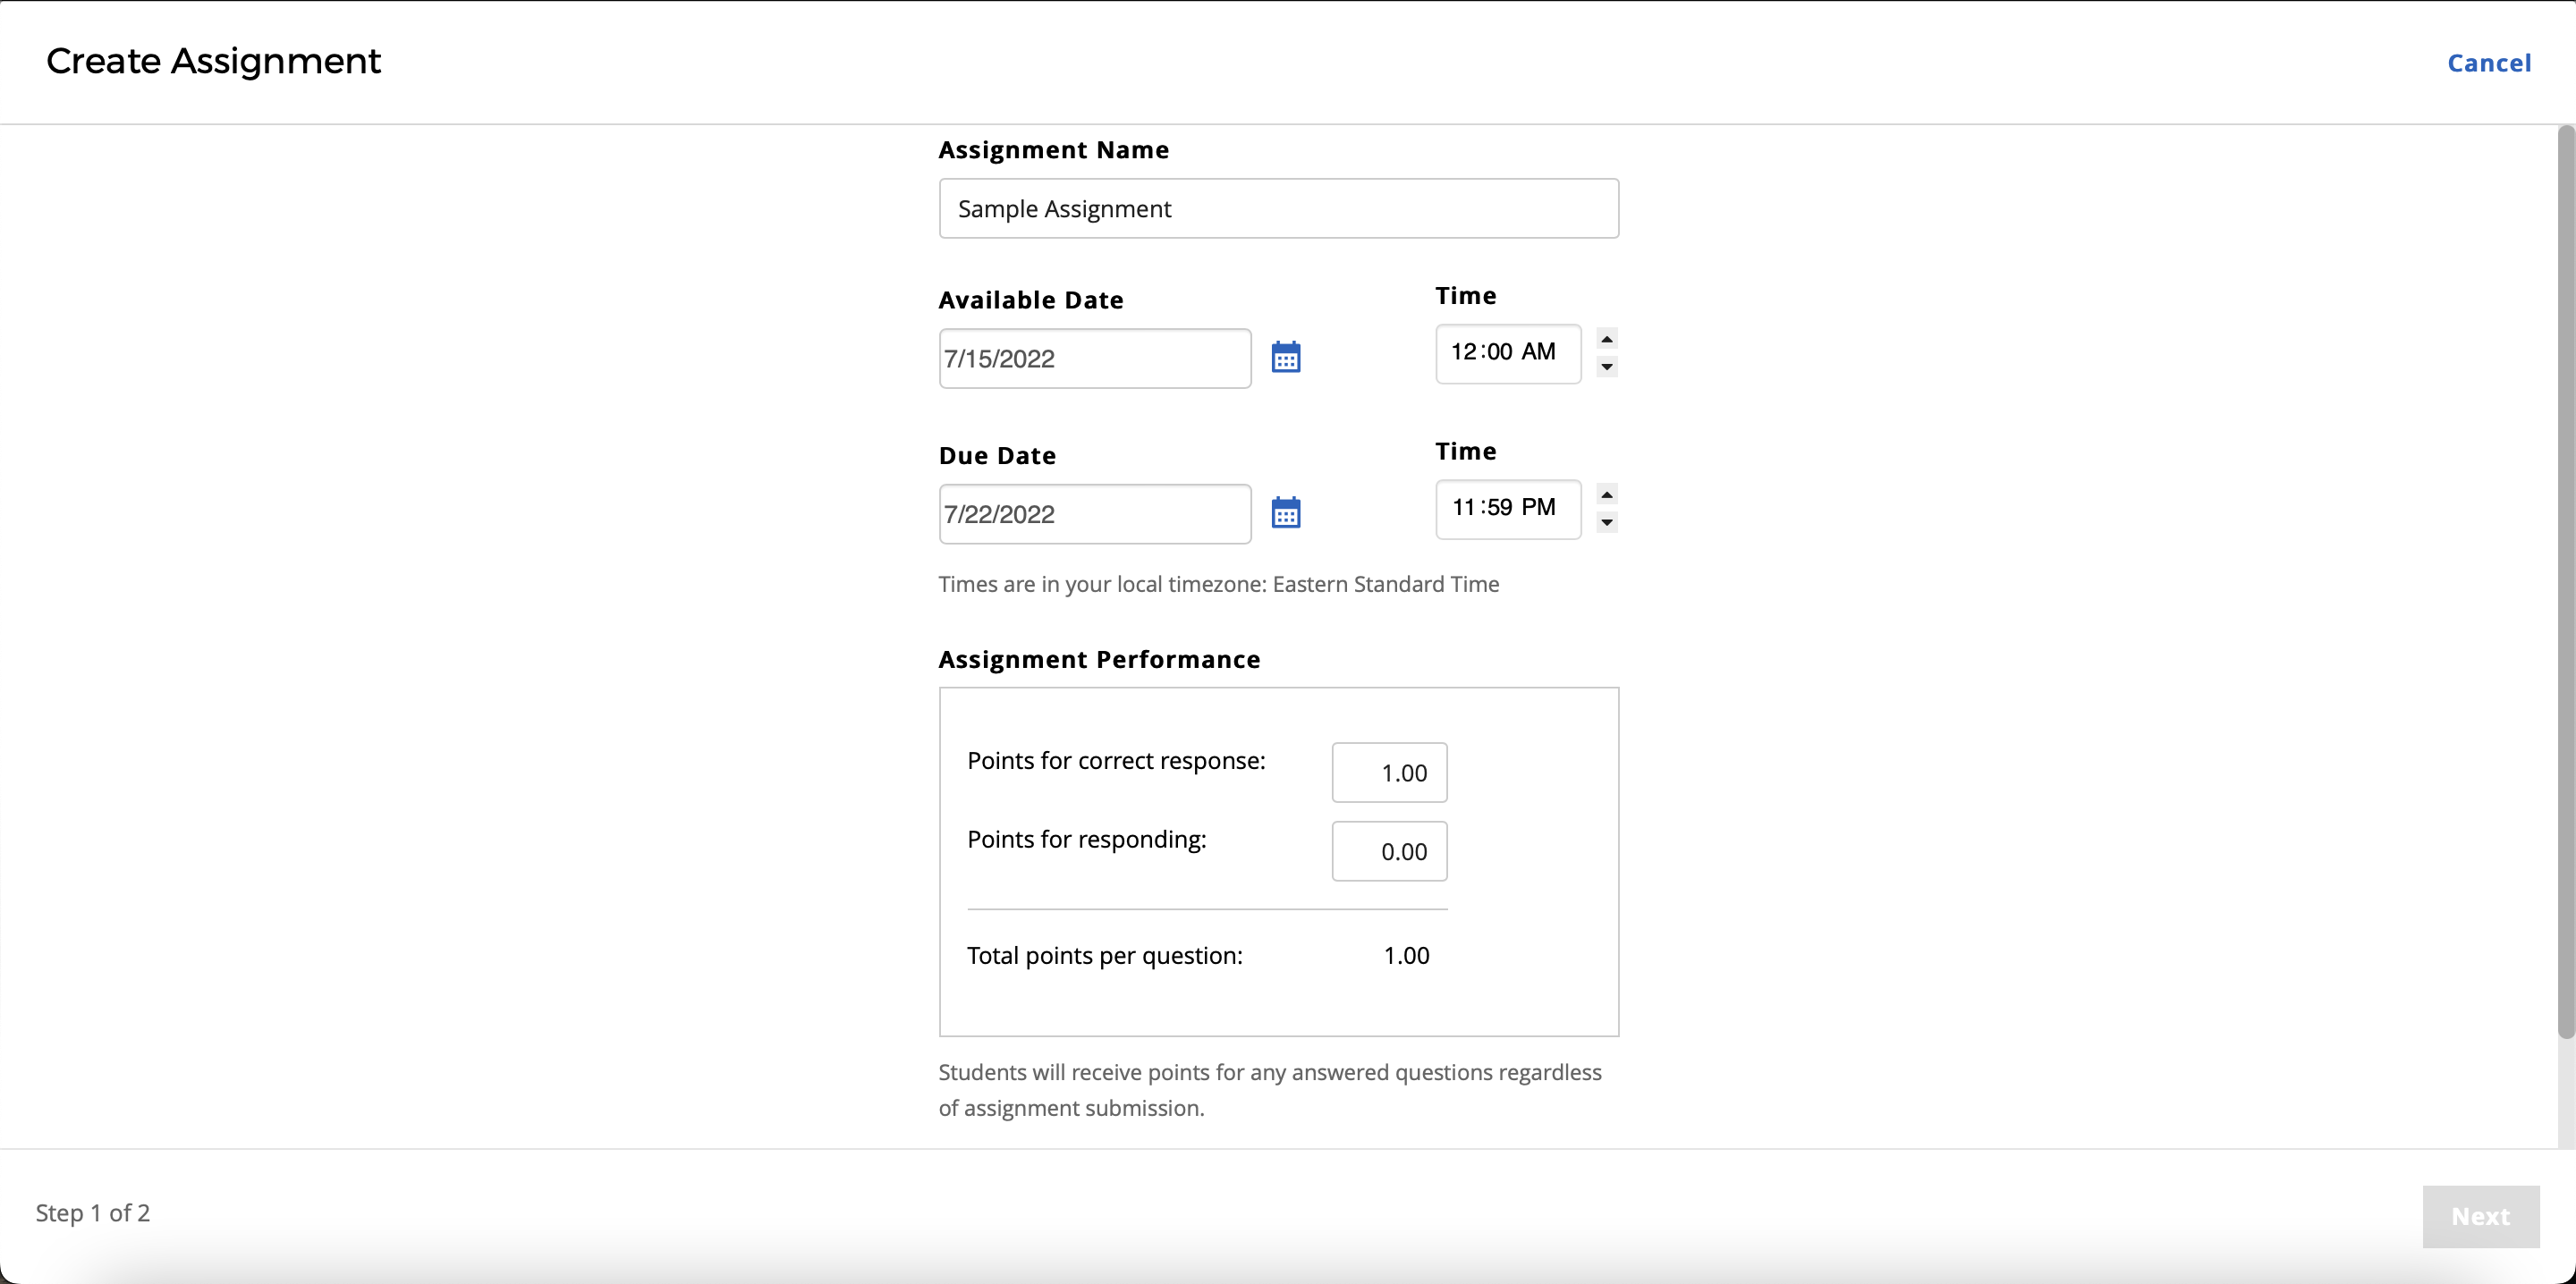
From here you can change the assignment name, the dates it is available to students in your class, and the amount of points given per question.
In order to add questions, take pdf slides or any pdf and upload it in the “Add Your Questions” section as shown below.
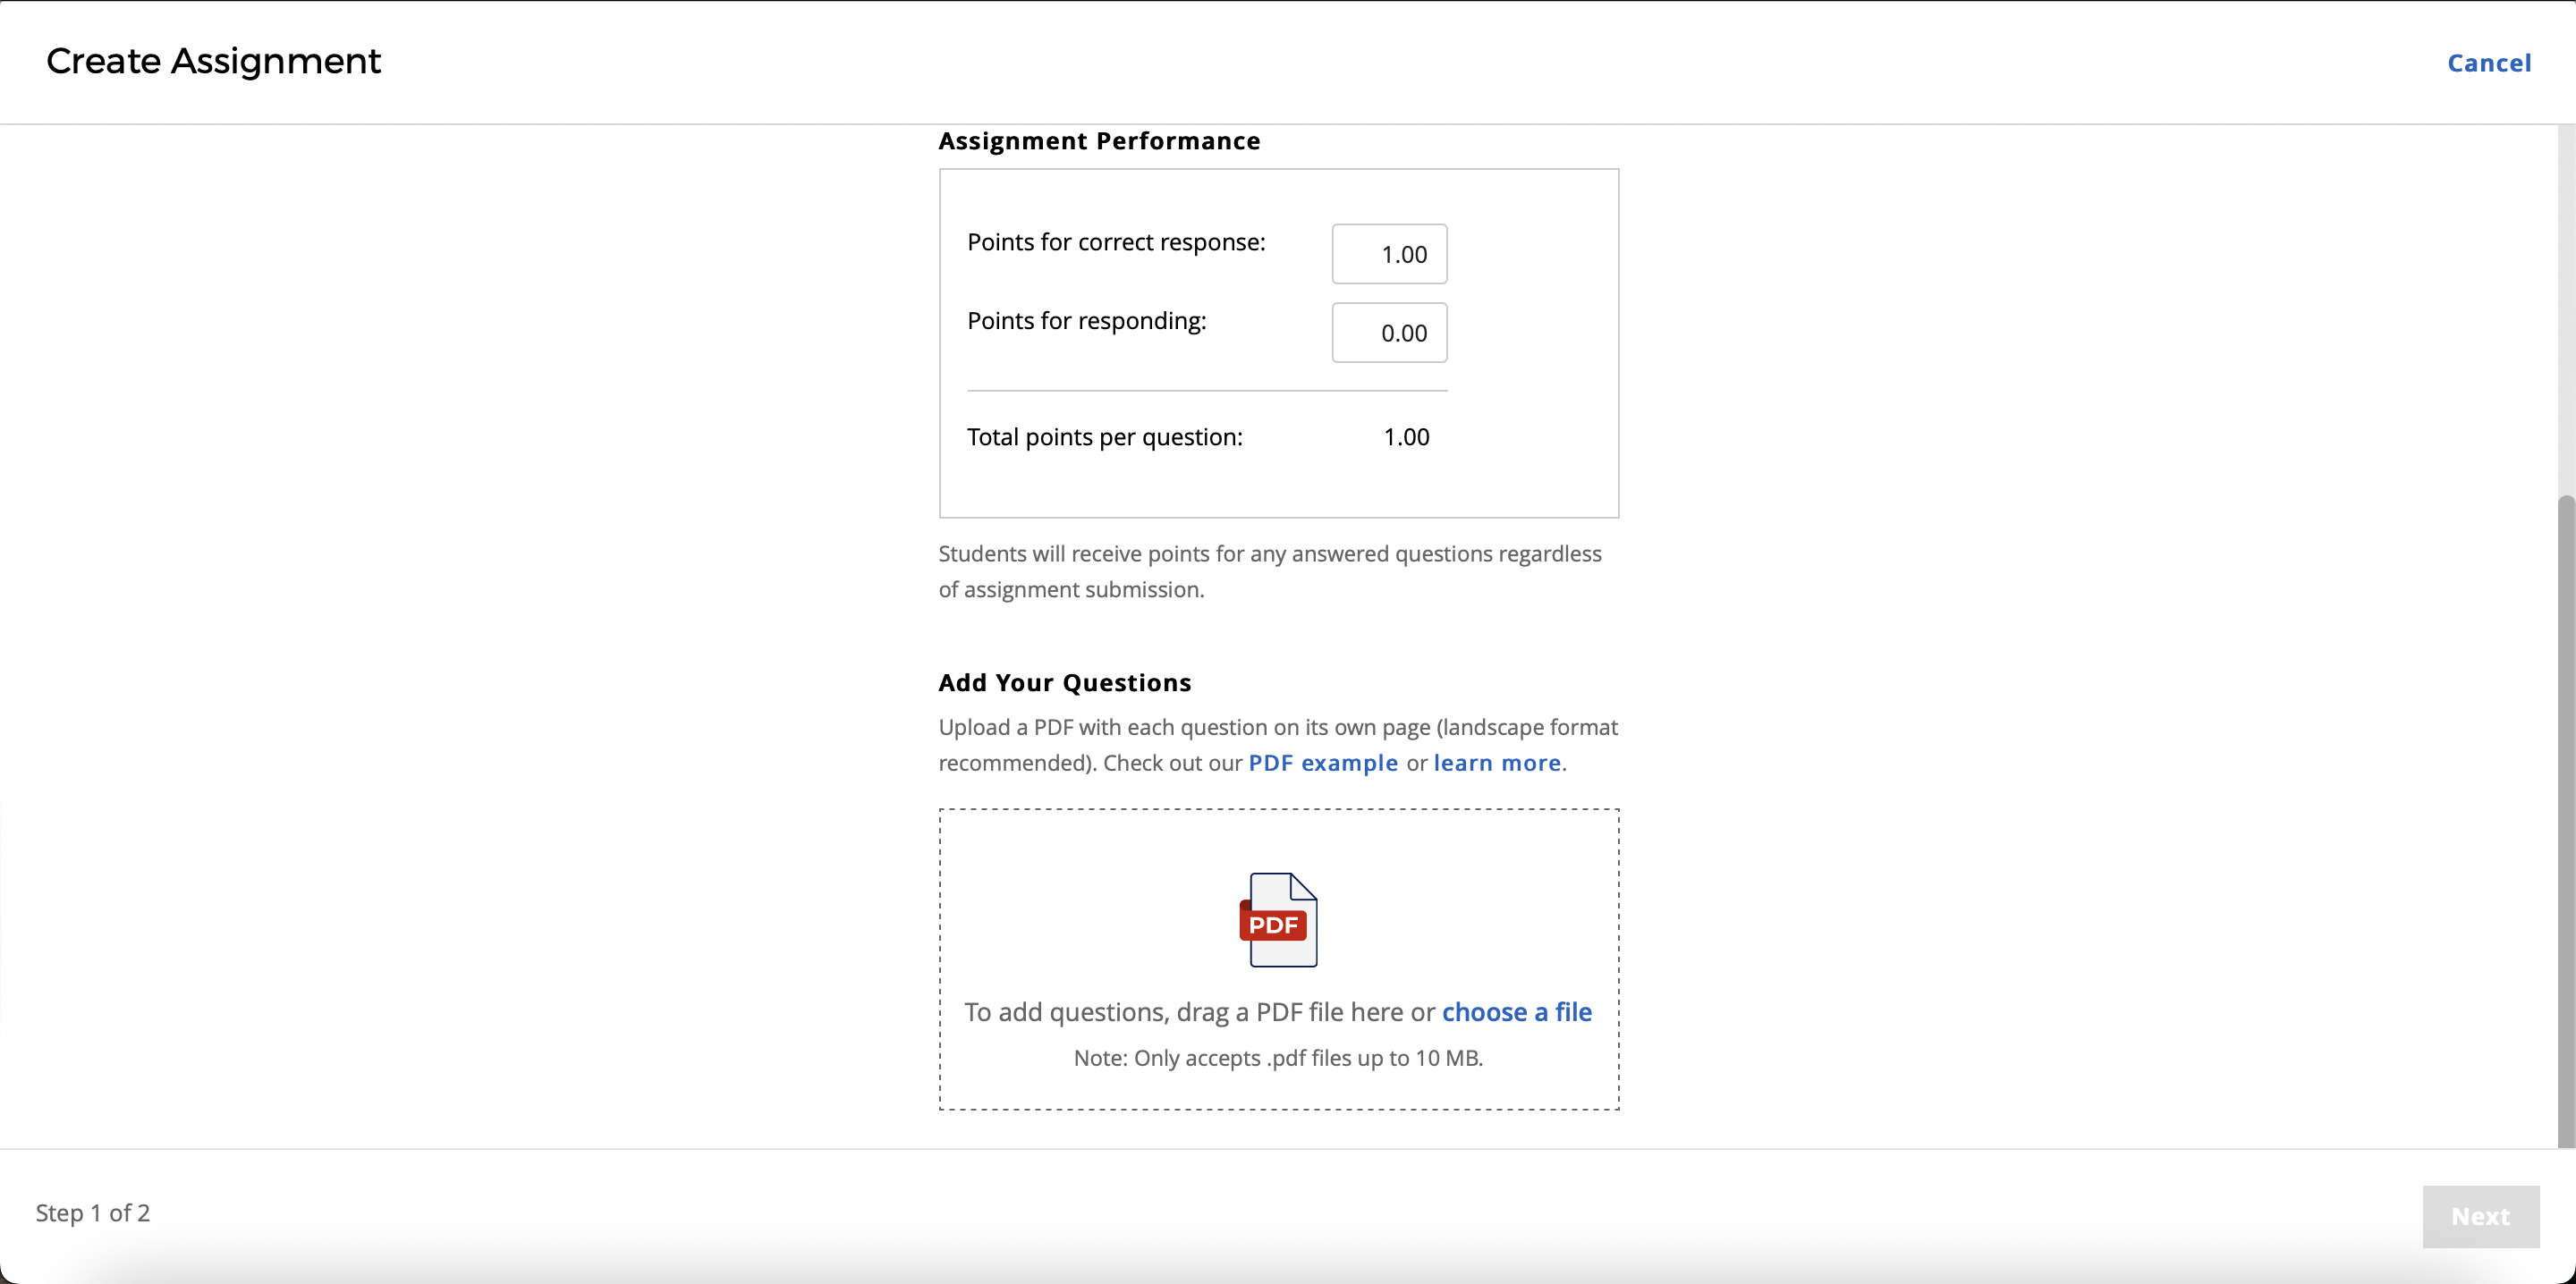
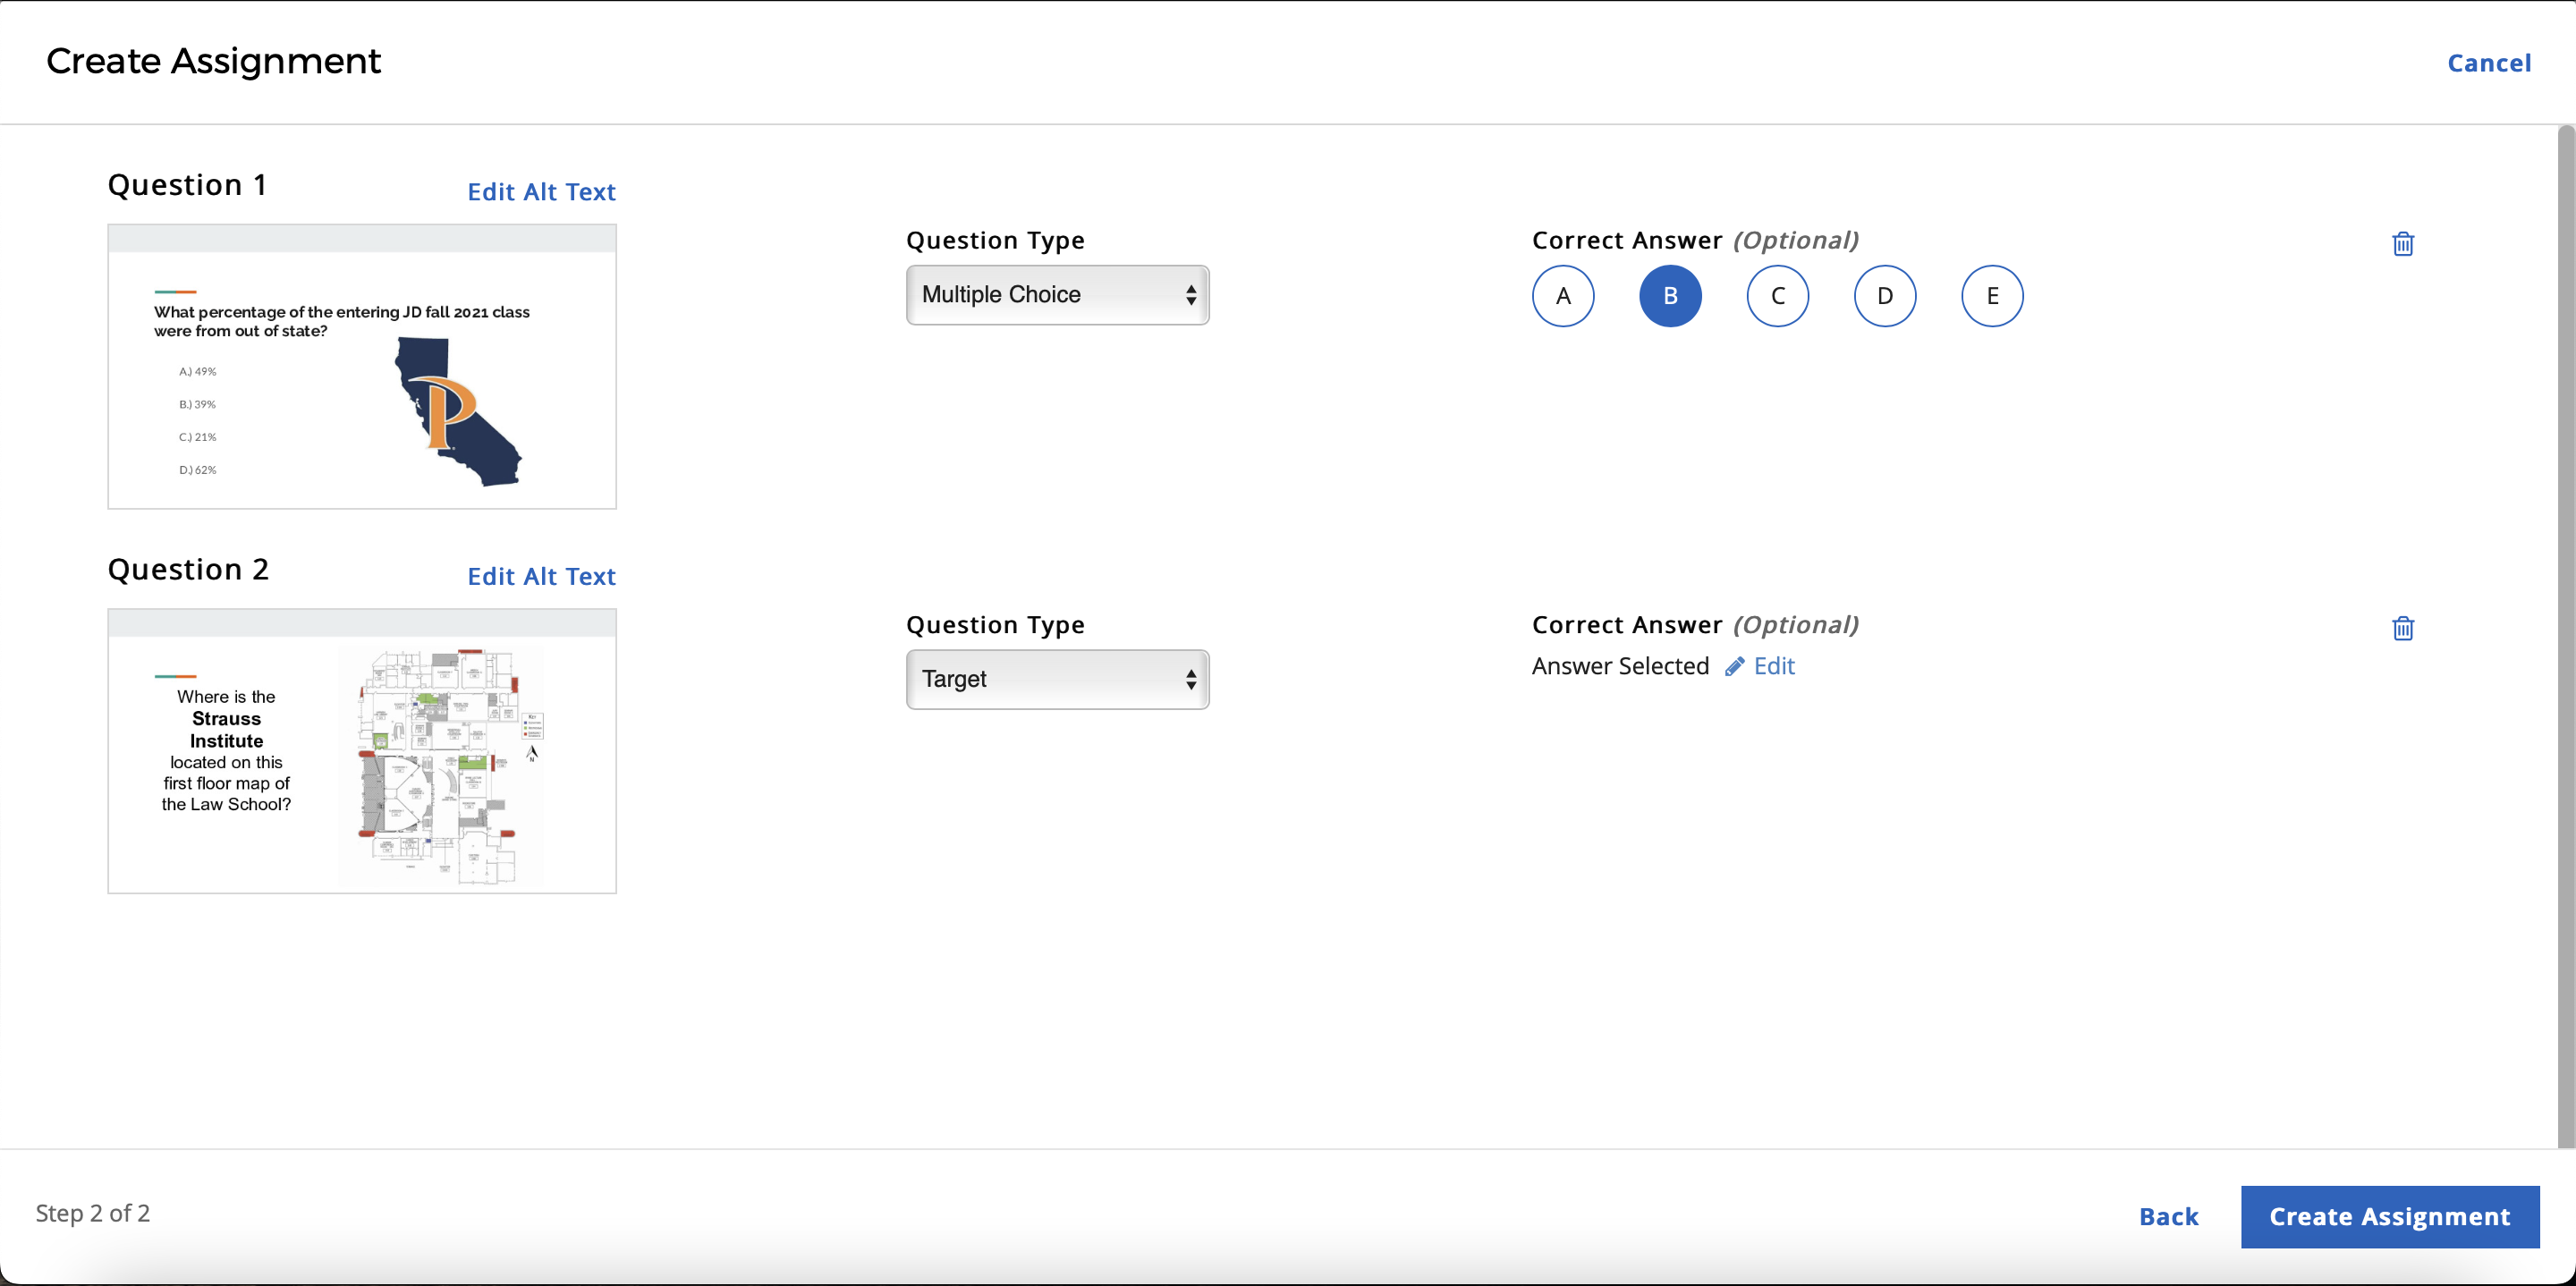
Uploading a pdf of multiple slides with questions on them will add those slides to your assignment. From there you can select the question type and the correct answer.
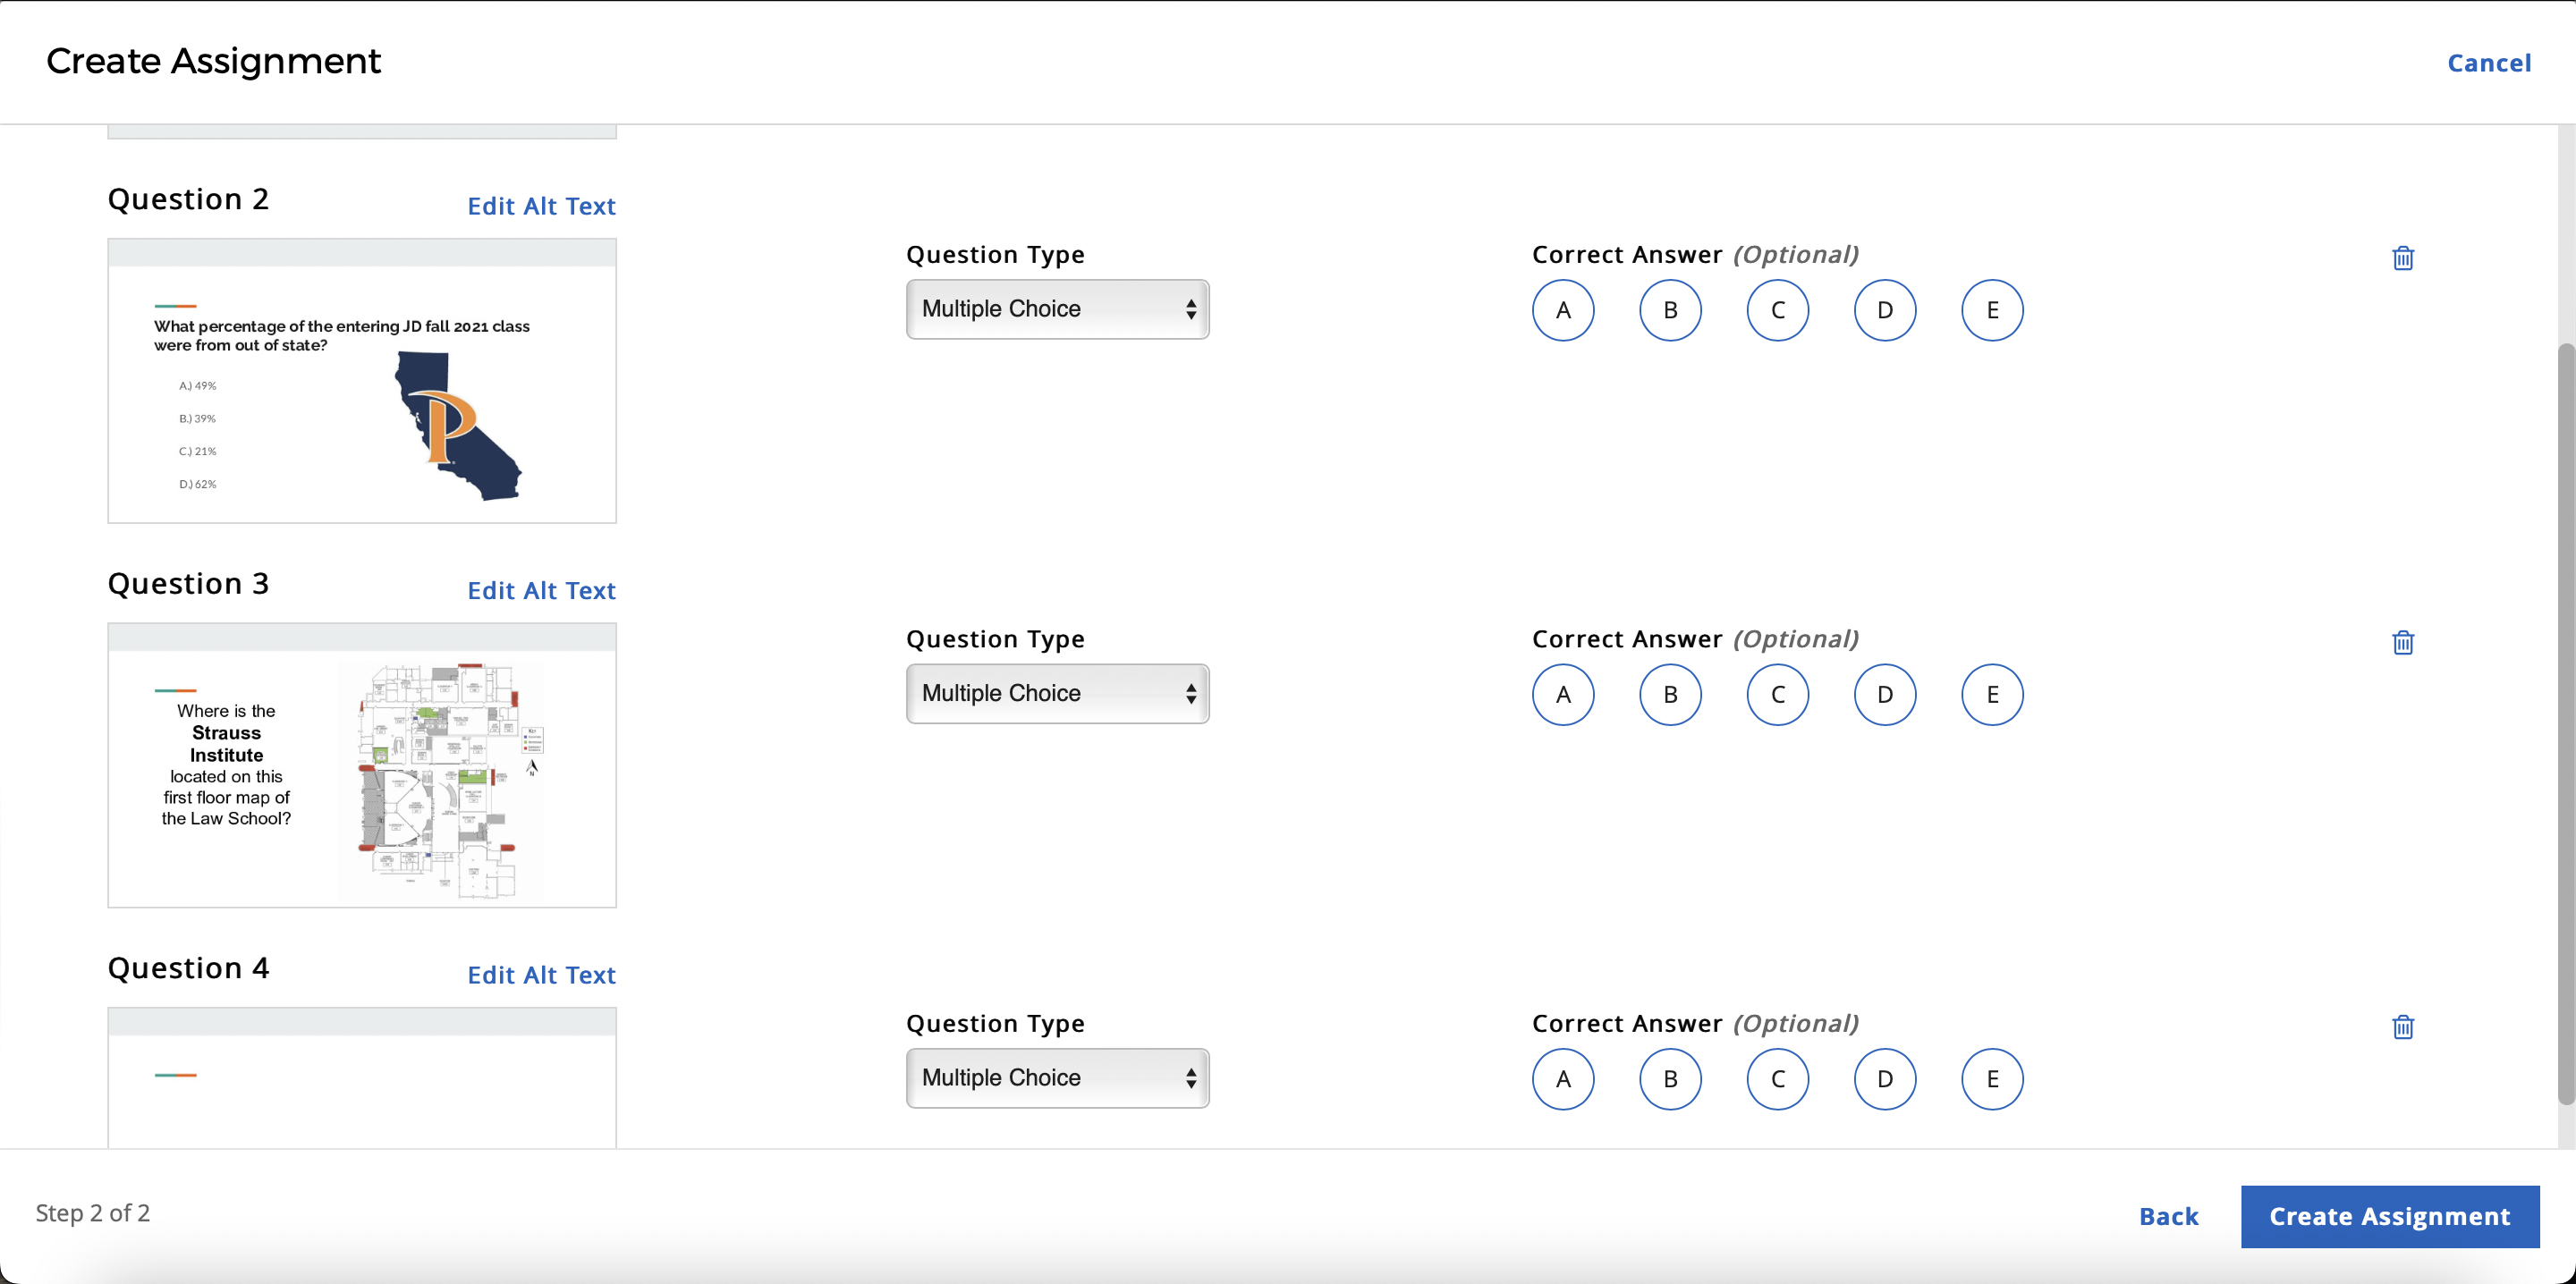
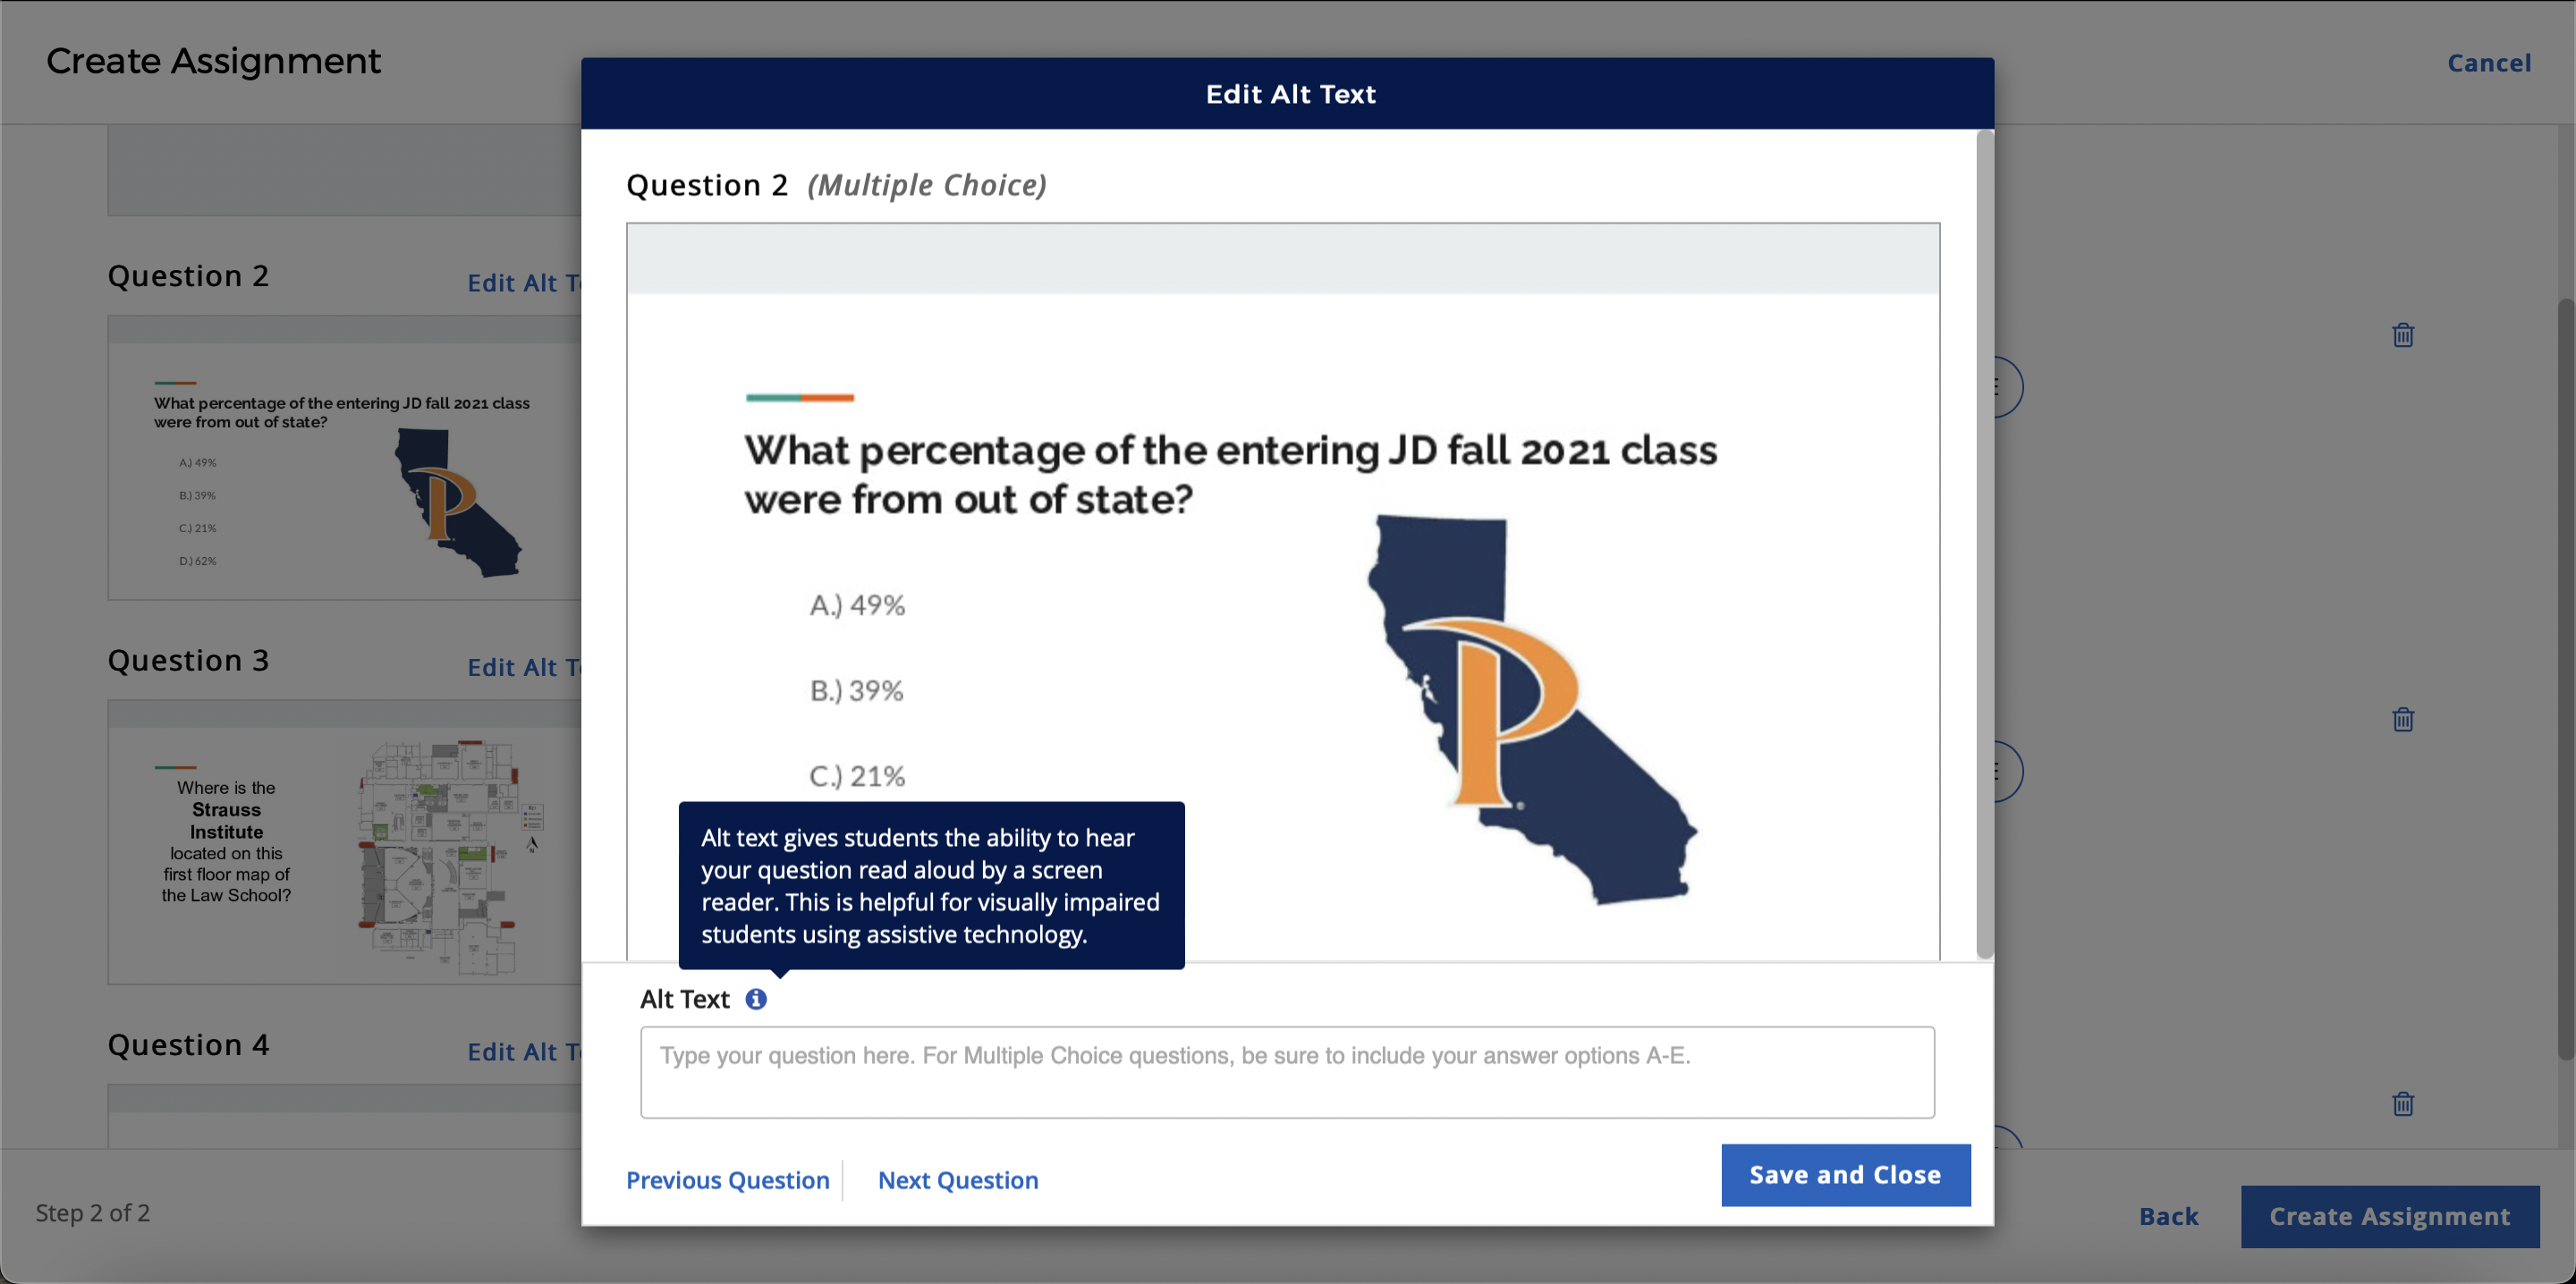
For added accessibility, you can use the “Edit Alt Text” link on each question to add text that will be read aloud.
After you have selected your question types and added the correct answers you can publish the assignment with the blue “Create Assignment” button in the bottom right.
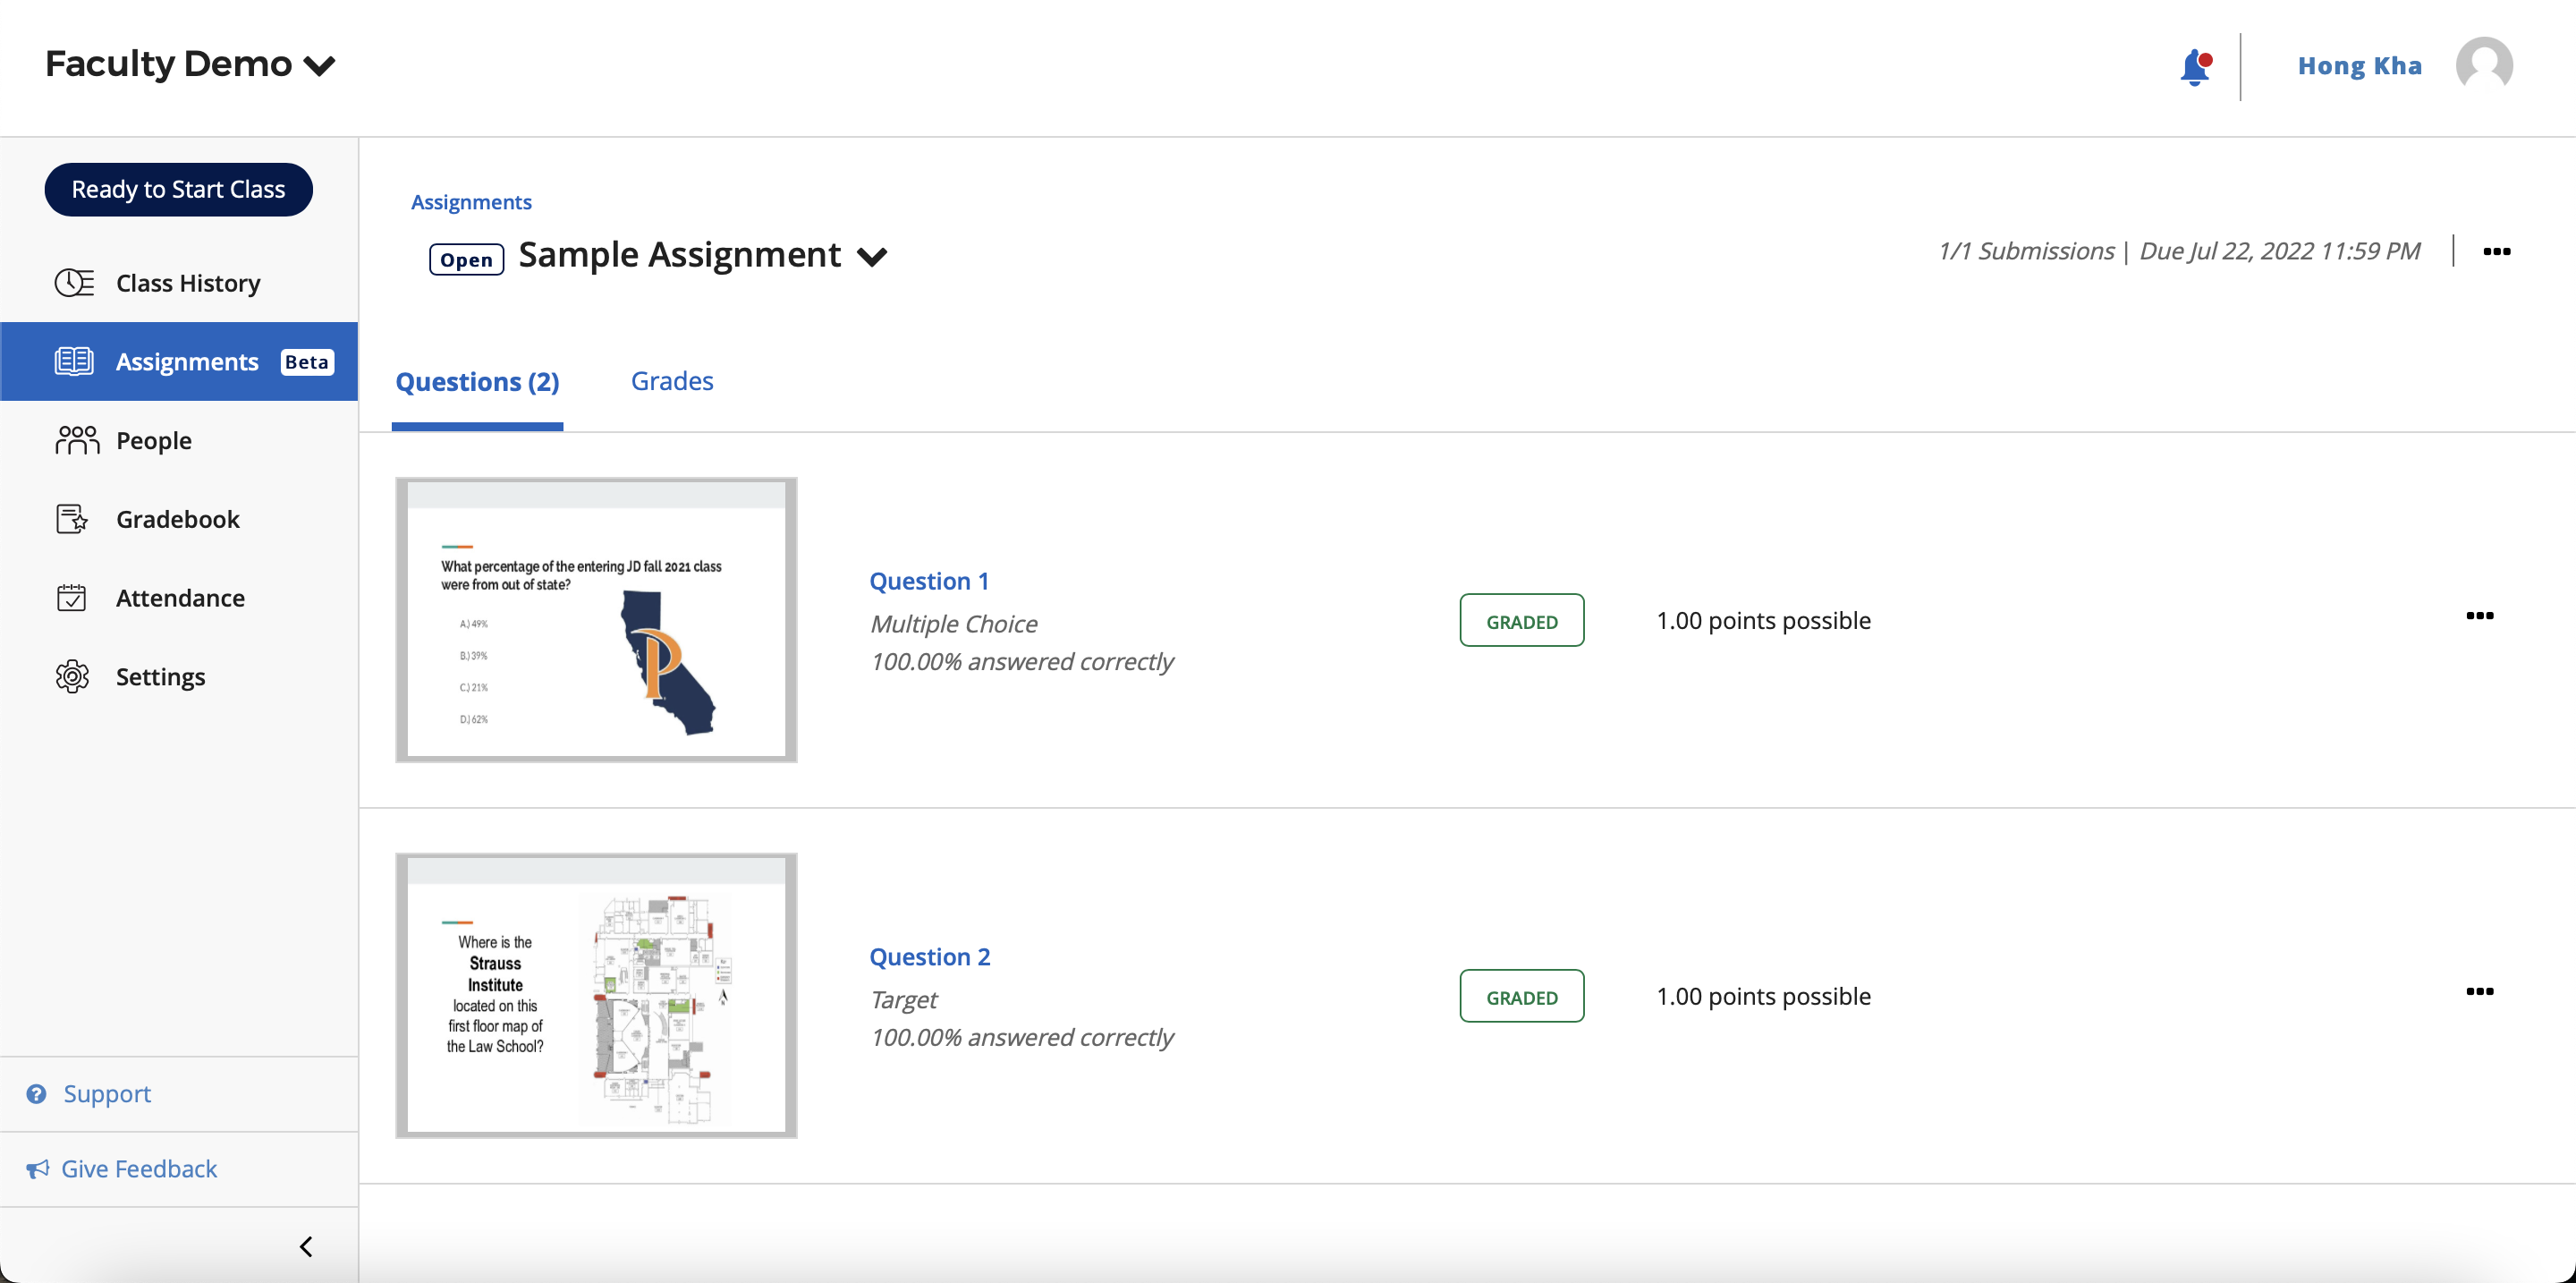
After your students respond, you can select the assignment from the menu to see your questions, the responses and grades.
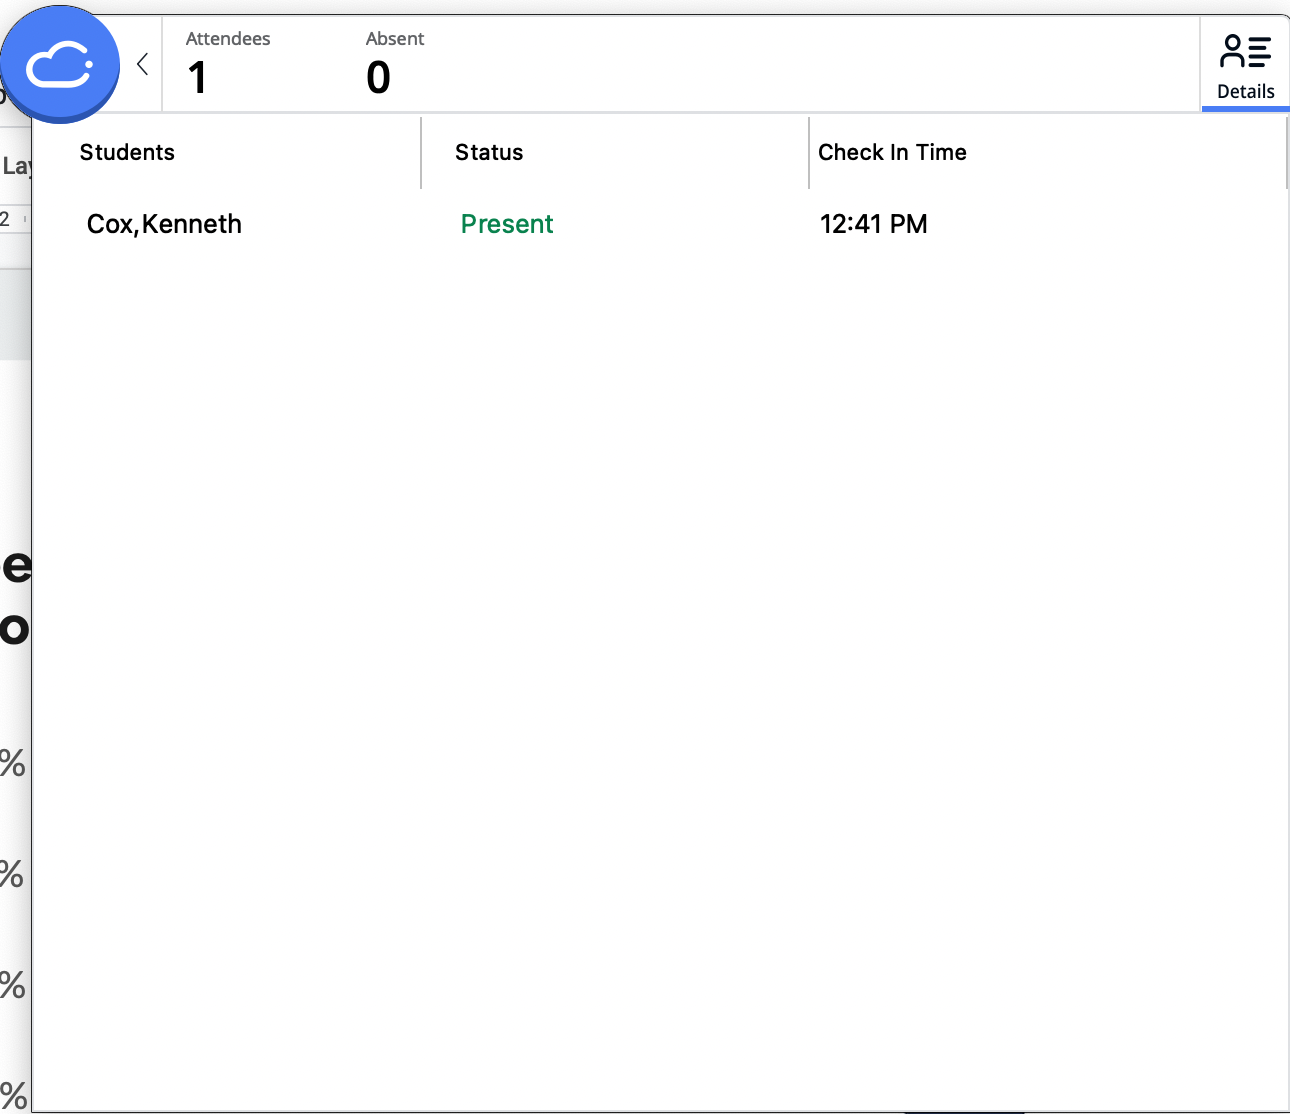
Attendance
Within the IClicker Cloud toolbar you can access a tool to see which students you have added to your class have checked in to be marked as present. IClicker will show you how many students are present or absent in this menu while you are running class, and will also record this information that you can find in the attendance tab of the IClicker site in your browser.
For more information on iClicker for faculty, please click here.