After a Zoom meeting has commenced, in most cases you may access a recording of the meeting via the Zoom Pro tool. Please follow the instructions below to view your recordings. NOTE: If you are hoping for a transcript of the recording, you may need to wait a little longer because sometimes Zoom’s transcription coding takes much longer than it takes to just make the video available.
Step 1: Navigate to your class on Canvas, and click the Zoom Pro tab in the lefthand toolbar.
Step 2: Click on the Cloud Recordings tab in the tabs listed on the top of the page.
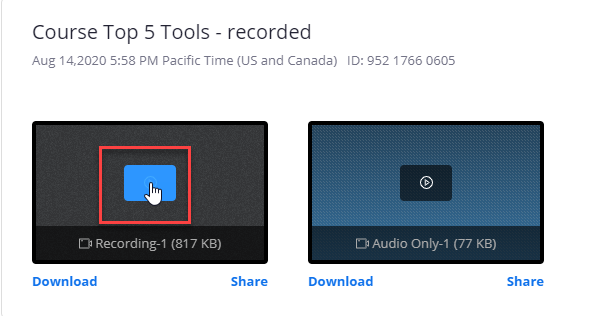
Step 3: Once the class recording has uploaded to the cloud, it will be available and listed in the Cloud Recordings tab. Click on the name of the course you wish to view.

Step 4: Select the play button on the left-hand option, which allows you to view the entire recorded session. The right-hand option is for audio only.
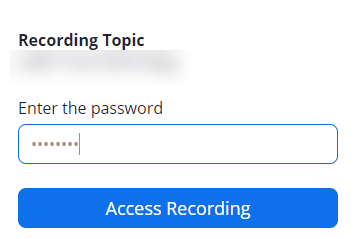
Step 5: If password protected, there will be a passcode section, and the eye icon will be crossed out.
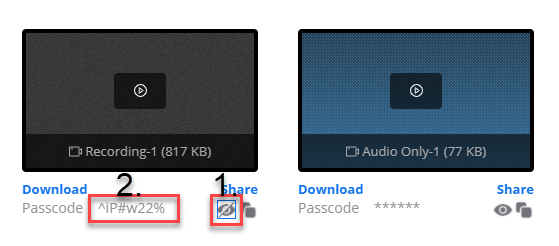
Step 6: Note that if you click on the crossed out “eye” icon (seen above and labeled “1”) the passcode for that video will be revealed. With your cursor, select that passcode and copy it. Enter/paste the passcode for that video after selecting the play button, to be able to access the recording.