
Classroom B
Irvine Lecture Hall
Classroom B, also known as the Irvine Lecture Hall, is located on the first floor of the Law School next to the bookstore in the main atrium.
Student’s View: Dual Projectors
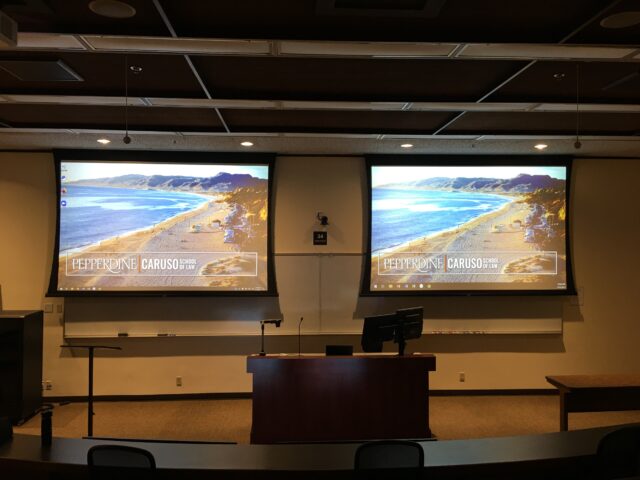
This shows the student’s view. The students will be able to view two projectors, each which project one of the monitors on the professor’s desk with extended monitors. Behind the projectors are two whiteboards.
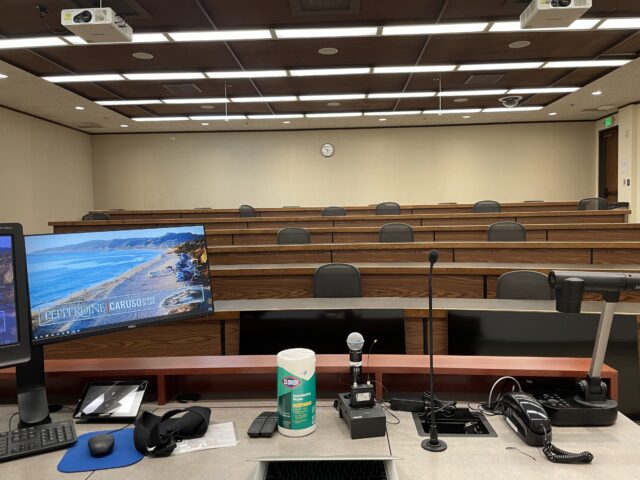
Professor’s View: Dual Monitors and Screens

This is the professor’s lectern, which holds the PC monitor, extended screen, as well as the smart control panel, microphones, and HDMI port.
The smart control panel is found on the top of the monitor. Power on by tapping the screen, then select the displays you wish to use.
The smart control panels control the screens of the classroom. Ensure that you select End Class when you are finished, so that the screens turn off. When using the projector, you may press the “mute audio and video ” button on the smart control panel. This freezes the screen so that the instructor can navigate to another page without the students seeing it.

Microphones
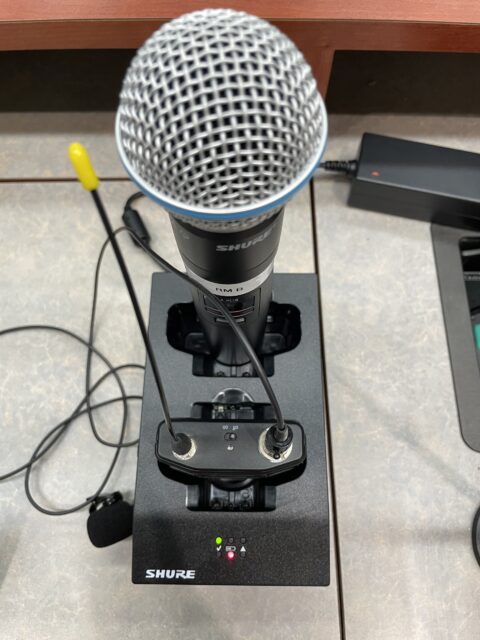

The handheld microphone can be located in the charging port, next to the HDMI port. Always return the mic to the charging port when you are finished. To turn on, remove from the charging port and turn on by switching the “on” switch up.
The lapel microphone can be located in the charging port on top of the black equipment cabinet. The microphone is connected to the integrated computer system to record audio for streaming or recording lectures. Be sure to place the microphone back into the charging port as seen, with the “Shure” logo facing forward.
USB Ports and TS Helpline
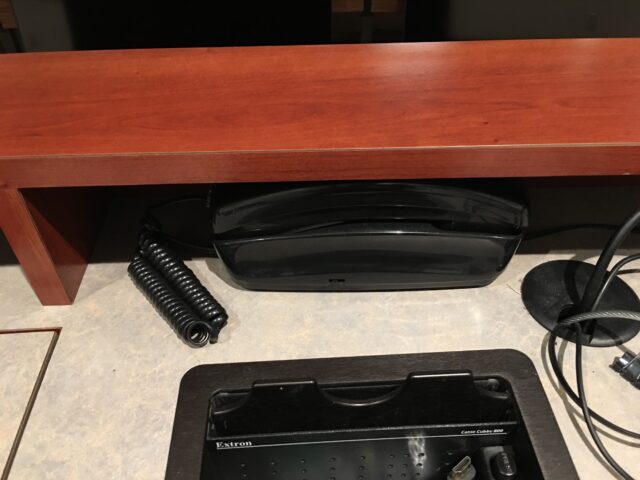
This is the help hotline phone located on the top of the monitor desk.
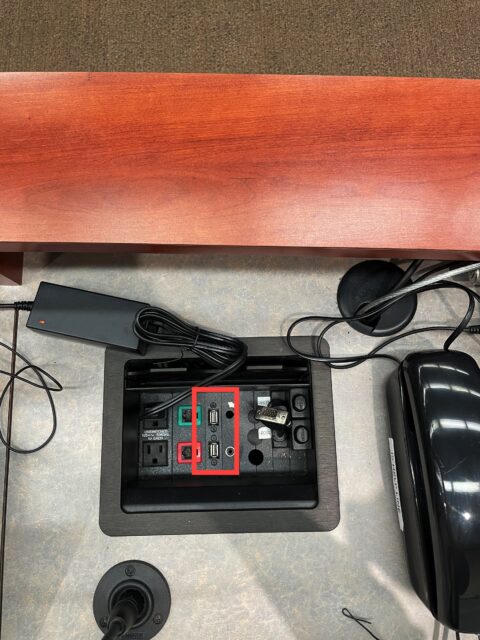
The HDMI port is located next to the phone, on the right side of the lectern. The USB ports are highlighted above.
Audio Visuals in Zoom
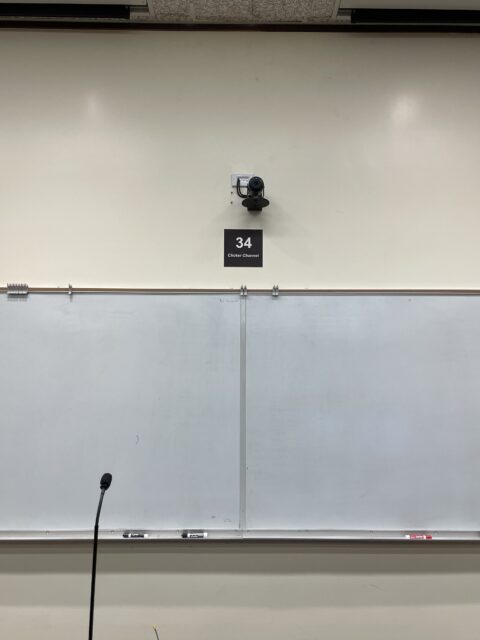
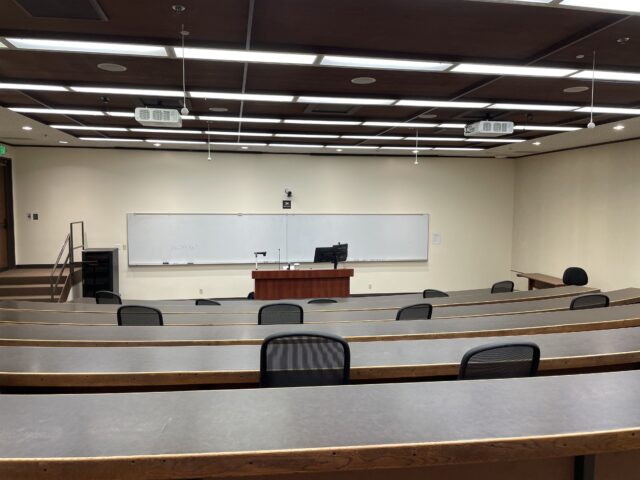
The VDO360 camera is mounted between the dual-screen monitors and can be used to capture the instructor’s face or whomever is presenting. There are two camera options in Zoom for Classroom B, the Mini USB Camera and the VDO360 2SEE Camera. The Mini USB Camera is wall-mounted behind the professor’s desk and is positioned to view the classroom.
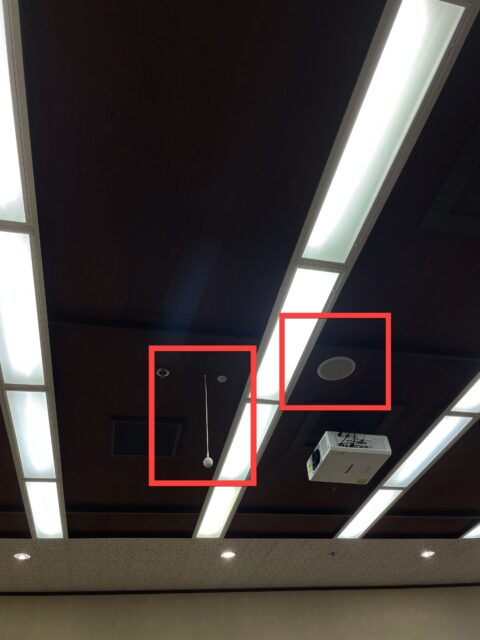
The ceiling microphones are the small round mics hanging from the ceiling at intervals, while the white circular ones set into the ceiling are the speakers. It is recommended that if there is a quieter student in the class, they sit under the microphones directly so their voice may be better projected.
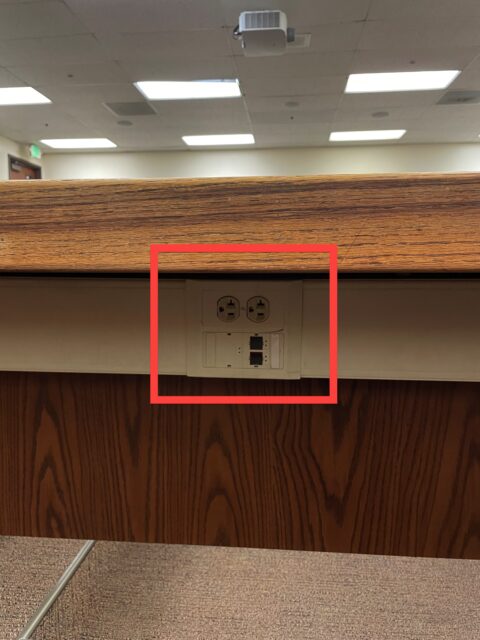
Power Outlets
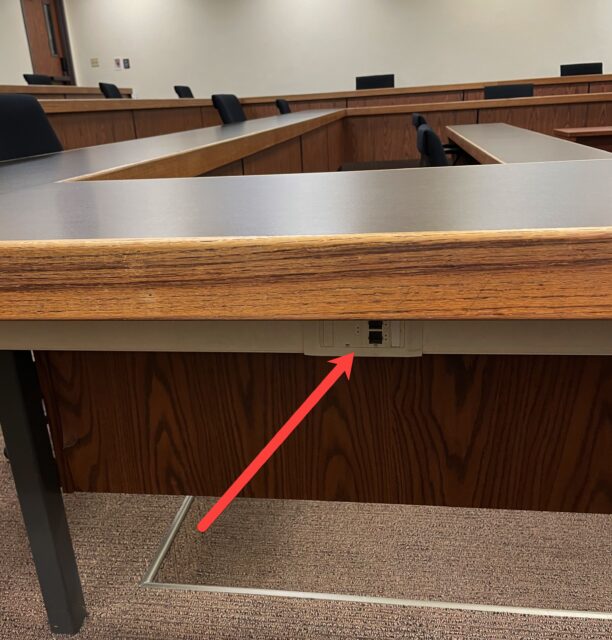
The power outlets are located underneath the student desks.
If you have any questions, please feel free to contact Technology Services at lawtech@pepperdine.edu or (310) 506-7425.