

As we adapt our teaching styles to fit with the digital world, it is useful to know that there are many ways to utilize Zoom to replicate typical classroom technology. With a smartphone, a computer and the Zoom software, you can incorporate a document camera into your lectures. This article will guide you through the steps on how to download, install and use your smartphone for this purpose.
A document camera, also known as a digital overhead, is an electronic imaging device that can project or display on a screen whatever is being captured through a connected camera.
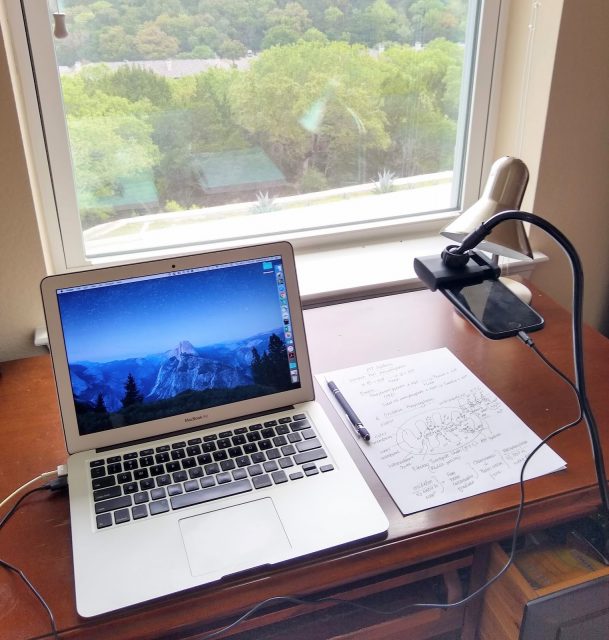
Typically, a phone stand is useful when using a smartphone adaption of a document camera. You may browse through numerous options online to find one that best suits your needs, or check out this one from the photo above.
How to Turn Your Phone into a Doc Cam by Signing into Zoom with Two Devices
Teachers who are utilizing online meeting platforms such as Zoom have likely found that the built-in whiteboard is not easy to use, unless paired with a tablet built for this purpose. Thankfully, since most phones have high-quality cameras that can project well on the computer and visible to students on their screen, you can join your Zoom meeting with your cellphone as a second device that may act as a document camera.
To use your phone as a document camera at home, follow these steps:
- Log on to Zoom at https://pepperdine.zoom.us/ using SSO and join/start a pre-existing meeting, or create a trial meeting.
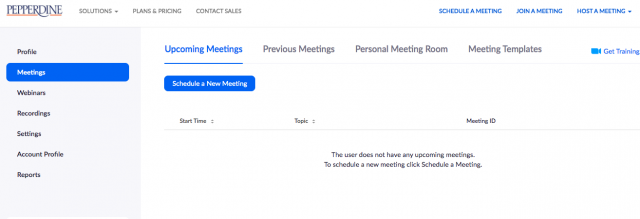
However, first, make sure that your Pepperdine Zoom account has been properly activated. For more information on Zoom for faculty, please click here.
2. Next, start or join your meeting from your computer as normal.
3. Now, transition to your phone. Go to your device’s app store so you may search and download Zoom.
First, there are two main tips we ask you to consider while using your phone as a second device for a document camera:
- Whether on an iPhone or Android, go to your settings menu, and set your brightness and screen settings to never turn off in the display preferences. This will ensure your screen will not go dark while streaming.
- We also recommend turning off notifications while you are teaching to prevent potential disruption, or even using an old phone that is not connected to your data plan.
Note, the screenshots shown below visually represent the process for an iPhone, however, the general steps are practically the same for an Android device.
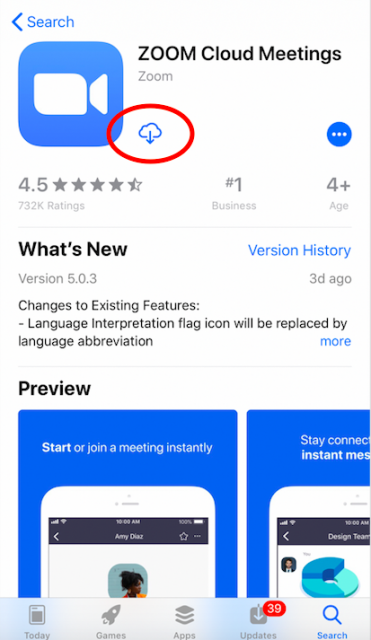
Once found, select “Download” or proceed to re-install the app if you have already installed it previously.
4. Once installed, find the app on your home screen and select the icon to open Zoom on your mobile device.
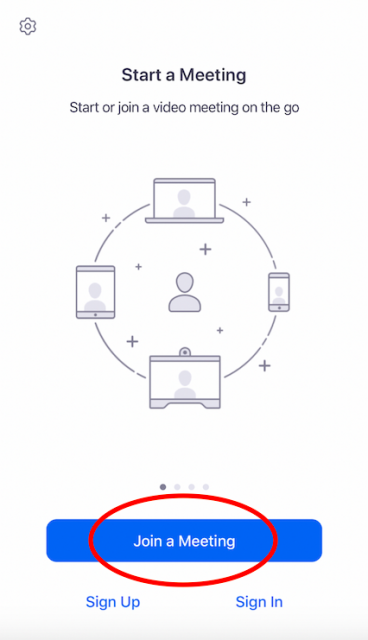
5. Once opened, you will be presented with a screen that asks you how you would like to proceed. Select “Join a Meeting” at the bottom of the screen.
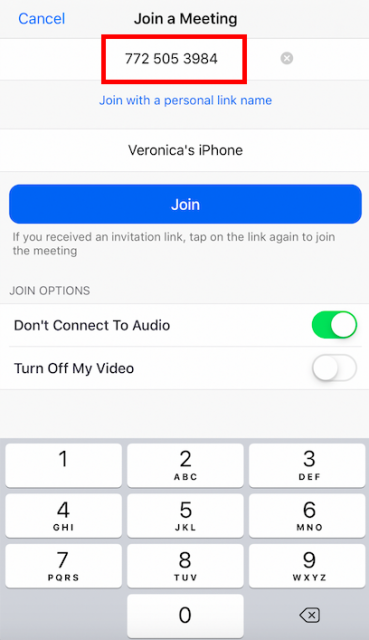
6. Much like another meeting participant would join your Zoom Meeting, enter the Meeting ID that you created and/or distributed to your students.
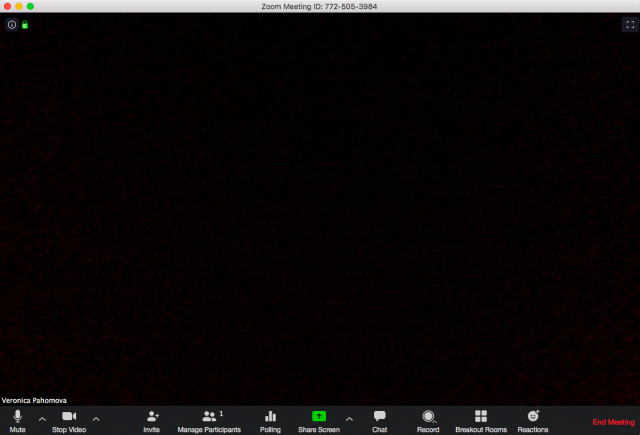
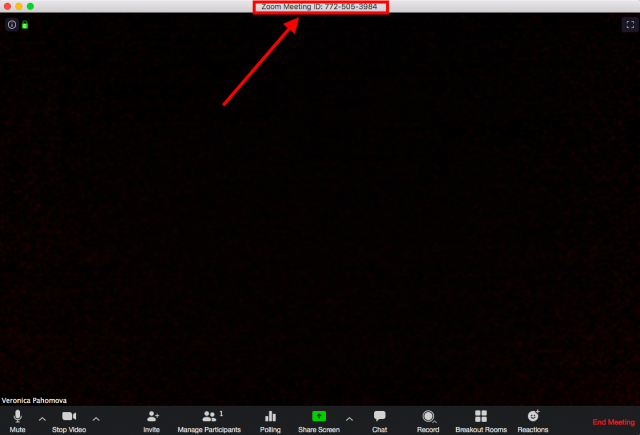
You may also find the specific Meeting ID to your Zoom meeting at the top center of your active meeting.
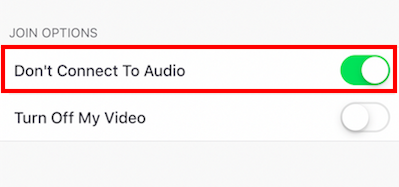
7. Before selecting join, make sure that you select “Don’t Connect To Audio” on your second device. This will ensure that there will not be an echo when you continue to lecture.
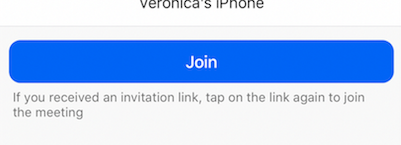
8. Now, you may click “Join.”
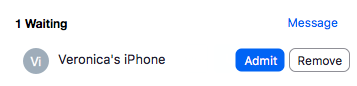
9. Going back to your computer or primary device, notice that your “Manage Participants” icon is orange. This shows that your second device is now waiting to be admitted into your meeting.

Select “Manage Participants” to be directed to the waiting room options. Click “Admit” for your cellphone device.
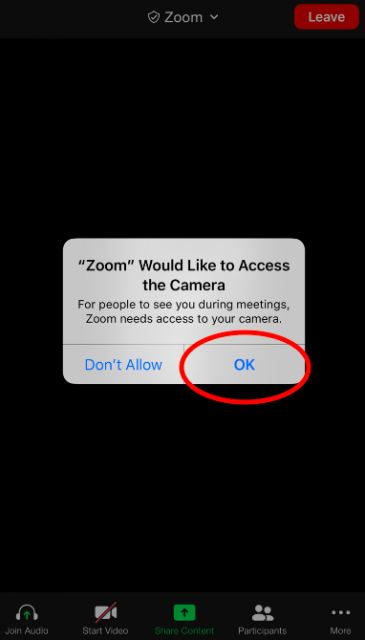
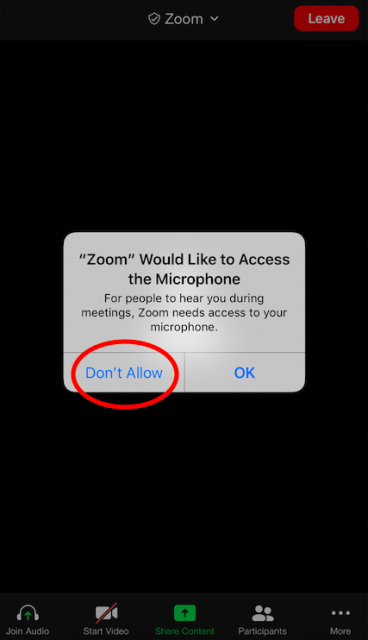
10. Depending on your personal phone settings, you may get three pop-up windows at this time: click your preference when asked if Zoom may “Send You Notifications,” click “OK” when asked if Zoom may “Access the Camera“, and click “Don’t Allow” when asked if Zoom may “Access the Microphone.”
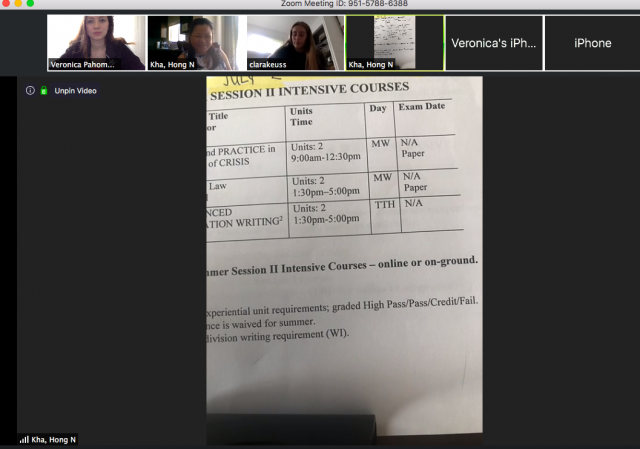
11. Now, you have two devices at your disposal: the camera that is broadcasting your face, and the camera that is broadcasting whatever view is on your cellphone. You should notice that your Zoom screen is broadcasting the same visual that your smartphone camera is showing.
Place your phone on whatever object you choose to have support your camera (whether that be a phone stand, a random household object, or your hand–obviously, the first choice is the most recommended) and position your camera to show
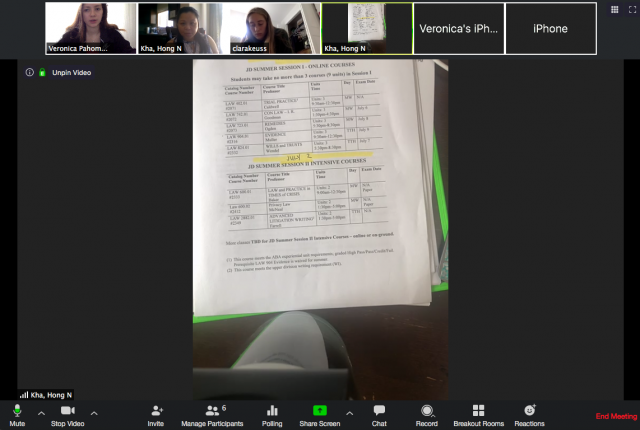
12. To have your second device be the main screen showing on your Zoom meeting for yourself, such as the image above, you must pin the screen of your secondary device. This will allow you to see what the students are seeing, and you may properly adjust your smartphone’s positioning and orientation accordingly.
First, ensure that your Zoom meeting interface on your computer or other primary device is showing Speaker View. Your screen should show your participants as depicted below, with the grid icon presented on the top right.
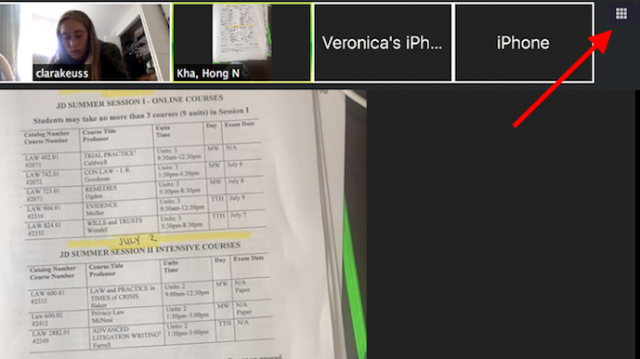
If you are operating on Grid View, select the button at the top right titled “Speaker View” to switch.
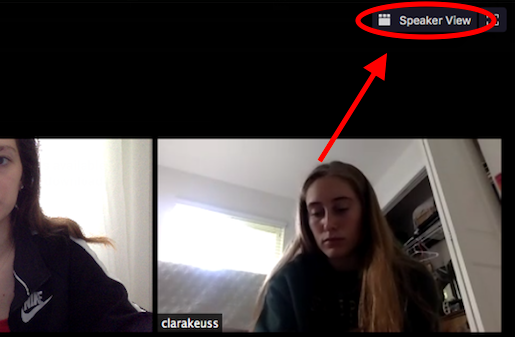
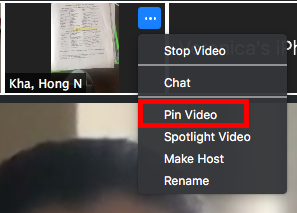
In Speaker View on your primary device, you may now select the three dots on the top right of your smartphone’s display. Select “Pin Video,” and you should notice that your smartphone’s camera display is now the main visual on your screen. You may advise your students to do the same.
13. As another note, there is no zoom-in feature on the Zoom software; therefore, the Zoom image being broadcasted by your cellphone will not operate as your camera application. To zoom-in on your document or give your students a closer look at the information being shown, you must manually adjust the positioning of your device holder to shorten the distance between your document and your smartphone.
14. Once you are done using your smartphone document camera, to end this broadcast, select “Leave” on your cellphone at the top right corner.

You will still remain active on your primary device to continue teaching as normal, or end the meeting for all of your participants at your liking.