
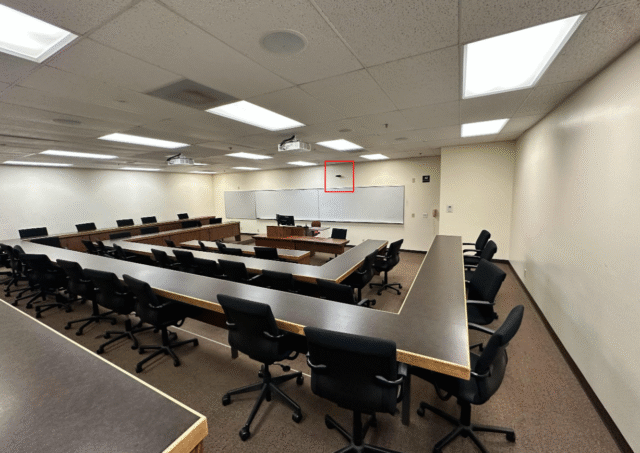
Classroom F is located to the back of the first floor of the building next to the Strauss Institute for Dispute Resolution.

Classroom Tech
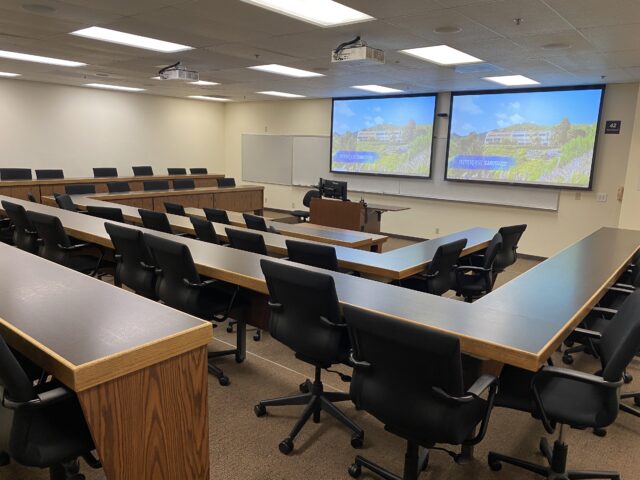
Classroom F
Classroom Features:
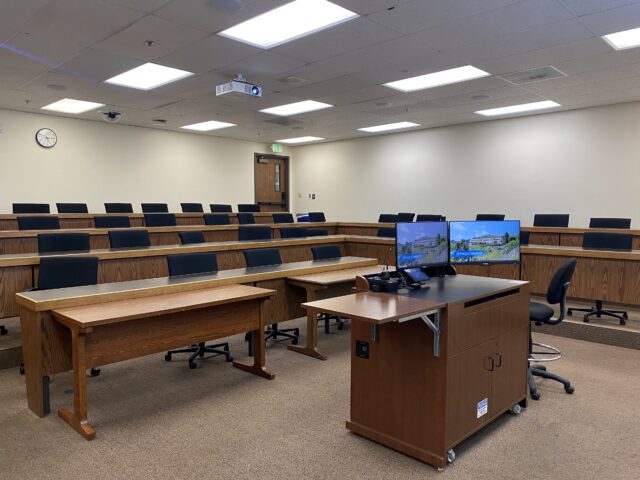
Professor’s View: PC Monitor
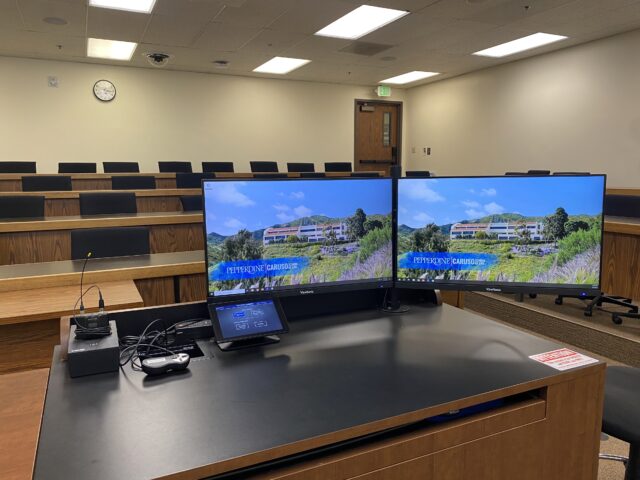
This is the professor’s lectern, which holds the PC monitor, extended screen, as well as the smart control panel, microphones, and HDMI port.
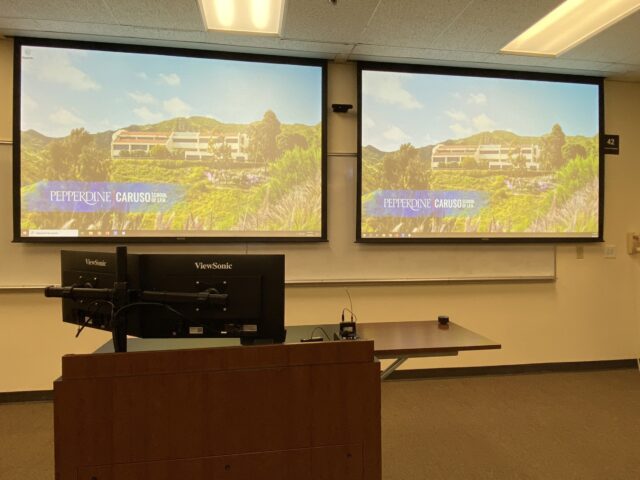
Dual Projectors
The two projectors can be controlled by the smart control panel, and will reflect either the classroom PC OR your personal computer (NOT both). This is the students’ view of the front of the classroom.
Behind the projectors are the whiteboards, which can be used when the projectors are not in use.
Smart Control Panel
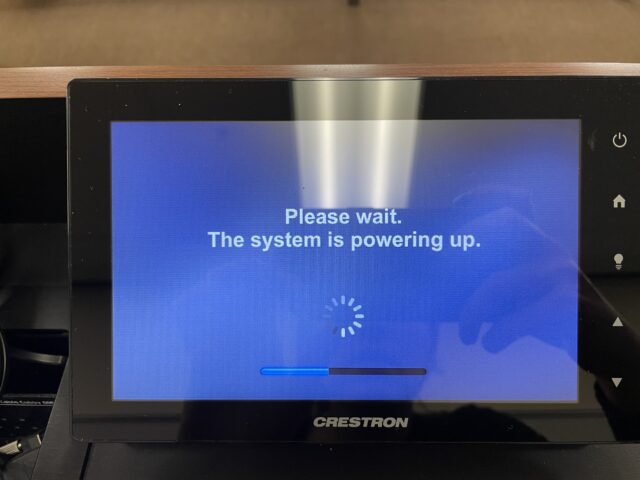
Turn on the smart control panel by touching the screen. It will begin to power-up, as shown below.
On the smart control panel, you have the option to turn on your projector screens and lower the screens simultaneously by clicking the “Start Class” button. There are two projectors which move identically when the buttons on the screen are pressed.
You may choose to project the classroom PC monitor onto both projectors by selecting “Display PC.” You may project your laptop screen onto both projectors by connecting your laptop with the HDMI cable on the desk, then selecting “Display laptop.” These buttons are presented here:
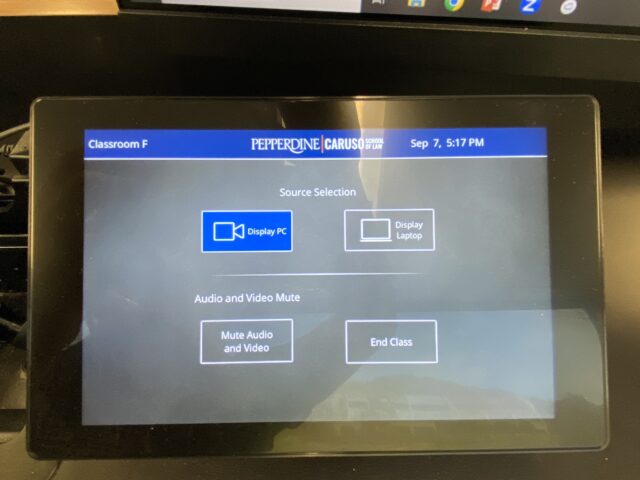
In classroom F, the two projectors cannot display two different images, they can only duplicate.
To blank screens while presenting on PC, simply select the “Display Laptop” button. Vice versa, to blank screens while presenting on your laptop, click the “Display PC” button. This blanks the screen image so that the instructor can navigate to another page without the students seeing it. You may also mute audio and video by selecting the “Mute Audio and Video” button.
You will need to raise projector screens to use the whiteboards.
Visuals in Zoom
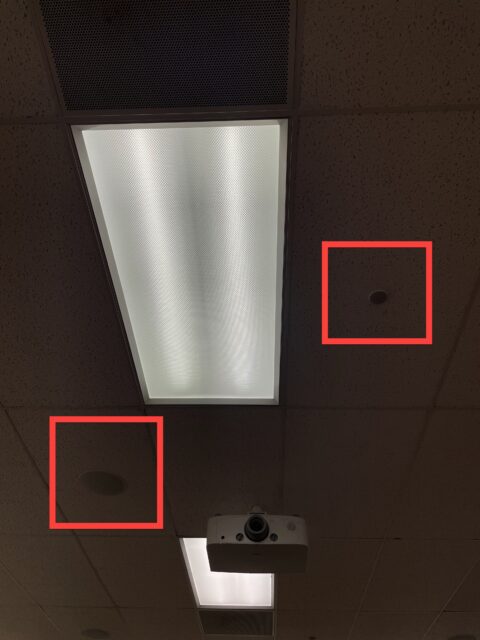
There are two camera options in Zoom for Classroom F, the Q-SYS Core 110f and Q-SYS NV-32-H.
The Q-SYS Core 110f is mounted on the ceiling towards the back of the classroom which is used to pan in to focus on the instructor, shown below

The Q-SYS Core 110f is located between the dual-projectors which provides a wide-angle shot of the entire classroom, shown below.
Ceiling Microphone and Speakers
The ceiling microphones are the small round mics set into the ceiling at intervals, while the large ones are the speakers. It is recommended that if there is a quieter student in the class, they sit under the microphones directly so their voice may be better projected.
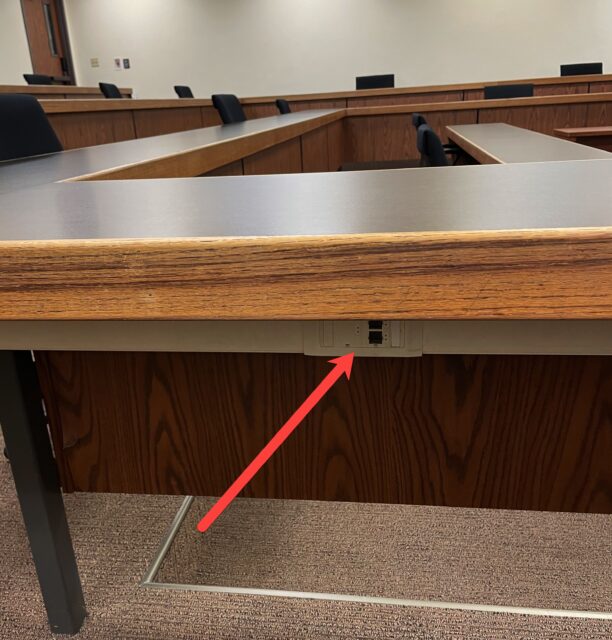
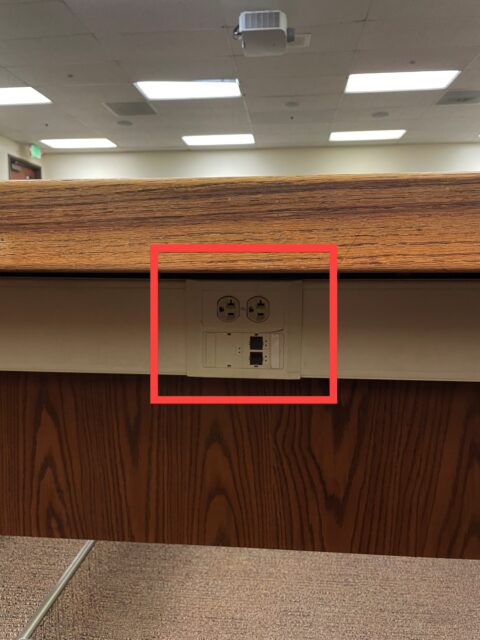
Power Outlets
The power outlets are located underneath the student desks.
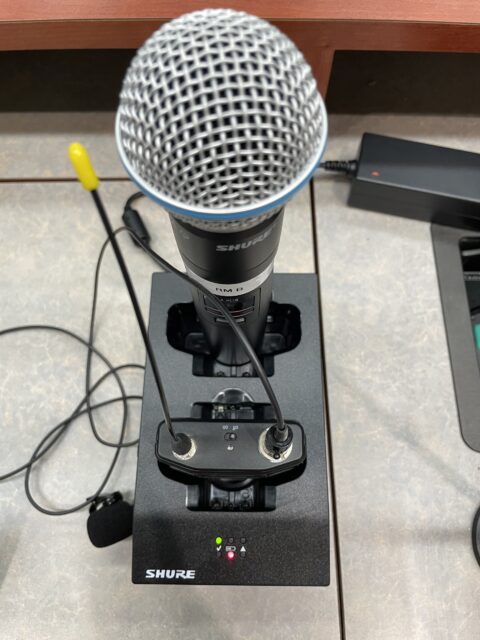
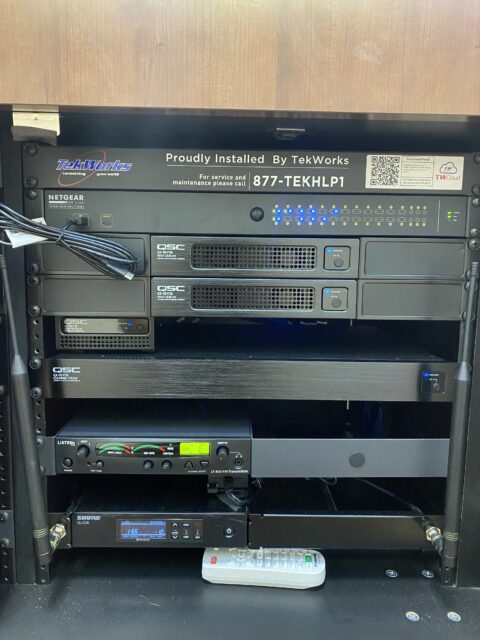
Microphone
The lapel microphone can be located in the charging port, next to the HDMI port. Always return the mic to the charging port when you are finished.
Note the HDMI and USB port is located next to the microphone port.
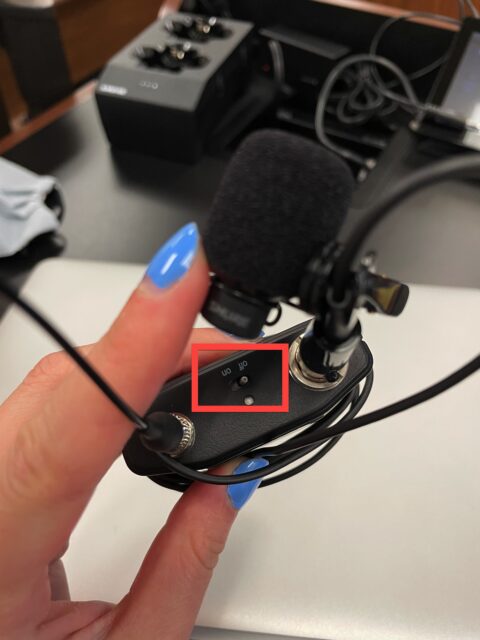
For the lapel mic, turn it on by switching the “on” switch located at the top of the mic. Clip the mic that is on the end of the cord to your collar or jacket, where it will be close enough to your mouth that you can project your speech to the class. Be sure to turn off the mic when finished and return it, facing you, to the charging station.
Classroom PC Settings
Other than the power button, do not touch other buttons on the classroom PC below the desk. Settings are calibrated for the room and should not be customized.
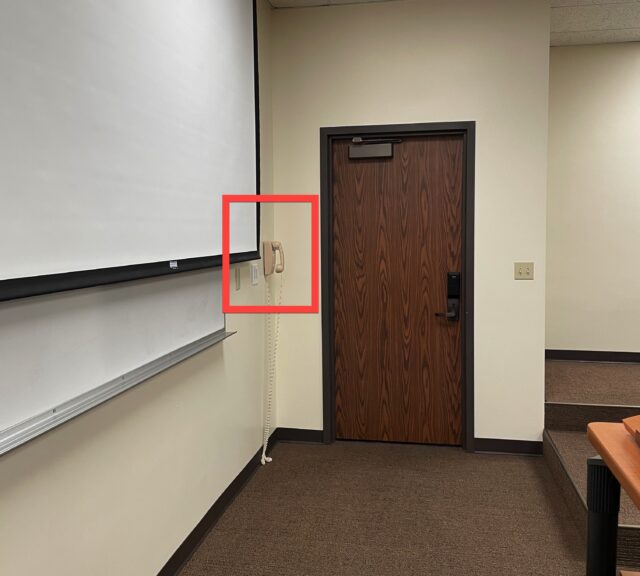
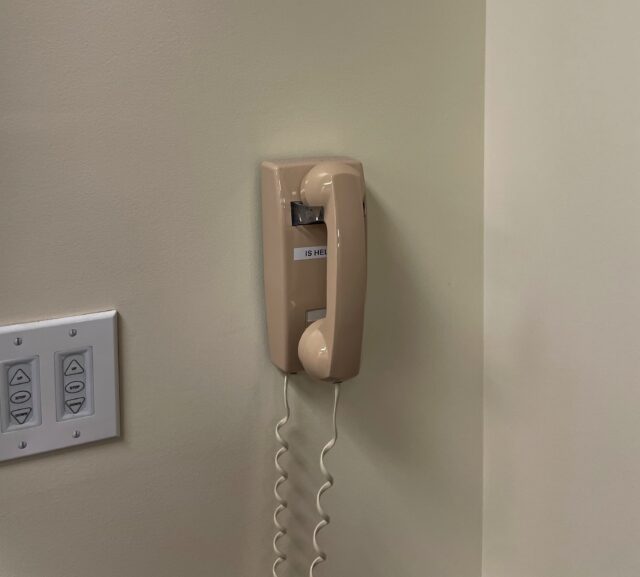
IS Helpline
The IS Helpline phone can be located on the wall to the left of the professor’s lectern. To use, simply pick up the phone and it will automatically connect you to one of the IS team members.
If you have any questions, please feel free to contact Information Services at support@law.pepperdine.edu or (310) 506-7425.