A quick step by step instruction guide for installing on a Windows computer:
1. Open a new explorer window (not Internet Explorer).
a. Type (Windows Button)+(R)
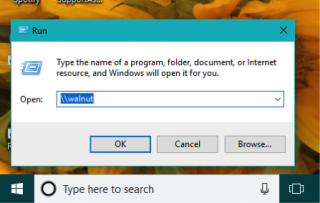
2. Enter the following in the address bar. \\walnut
3. Locate and open the folder PCCLIENT.
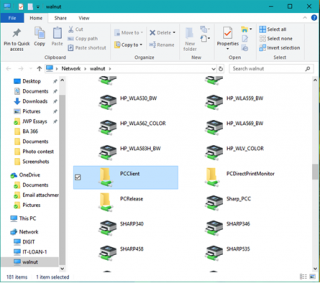
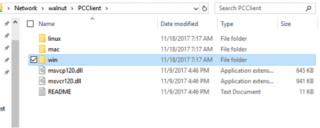
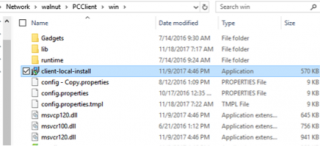
4. Open the WIN folder and double-click on the CLIENT-LOCAL-INSTALL installer.
5. Accept the UAC if prompted.
6. Enter your network credentials. DOMAIN\USERNAME
EX: student\juser
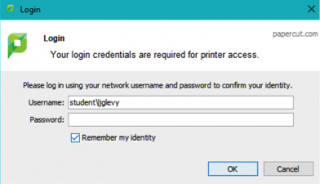
7. Run through the installer and leave all of the default settings.
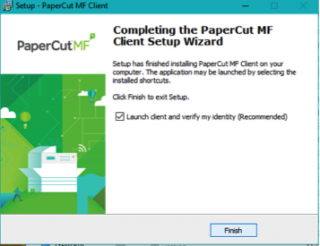
8. Leave the checkbox checked to LAUNCH CLIENT… and click FINISH.
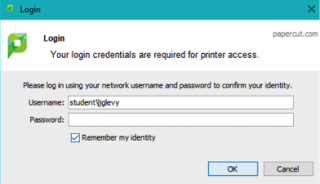
9. Enter your credentials into the pop-up client as noted in step 6.
EX: student\juser
Install FindMe Queue:
1. Open CONTROL PANEL and launch DEVICES and PRINTERS.
2. Click ADD A PRINTER.
3. Click THE PRINTER I WANT ISN’T LISTED.
4. Select the radio button to add PRINTER BY NAME and enter the following. Click NEXT.
\\walnut\FindMeBW
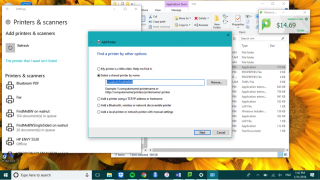
5. It may take a few minutes to locate the printer.
6. When prompted, enter your credentials. DOMAIN\USERNAME
EX: student\juser
A quick step by step instruction guide for installing on an Apple computer:
- Download the Mac Driver.
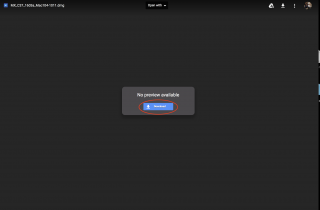
- Install the driver by opening the image file from the download. (e.g. MX_C37_1603a_Mac104-1011.dmg)
- Click on “MacOSX”.
- Choose the driver for your operating system (e.g. Version 10.11). Go to the Apple Menu > About This Mac to see the operating system version.
- Click on MX-C37 to install the driver
- The Installation Window will appear. Click Continue and follow the on-screen instructions. Use the password that you use to log into your machine when asked for the password.
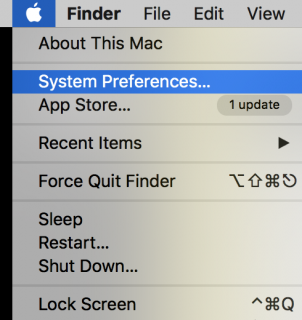
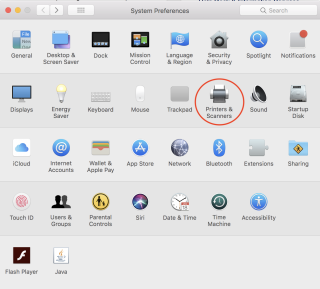
- Go to System Preferences > Printers and Scanners.
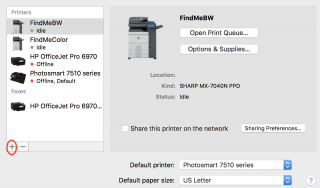
- Click “+” to add a new printer.
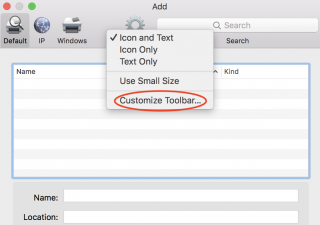
- Control-click the toolbar; then select Customize Toolbar.
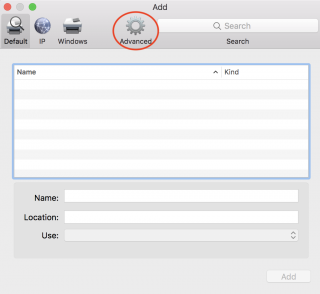
- Drag the Advanced icon onto the bar; then click Advanced.
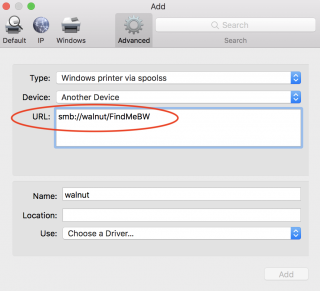
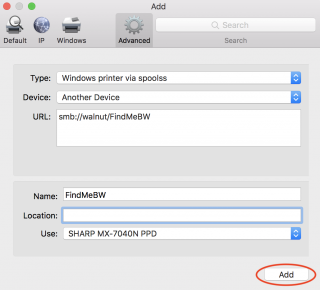
- In the “Type” drop down menu, select “Windows printer via spoolss”.

- Enter the Device URL, smb://walnut/FindMeBW or smb://walnut/FindMeColor, depending on the current printer you are installing.
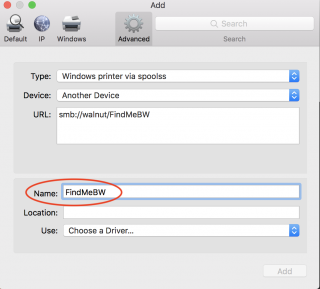
- In “Name”, enter FindMeBW or FindMeColor depending on the current printer you are installing.
- In the “Use” drop down menu, click “Select Software.”
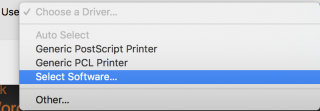
- Select Sharp MX 7040N PPD and click OK.
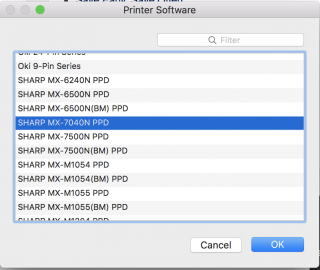
- Click Add.
- Click “+” and repeat 7-12 for both FindMeBW or FindMeColor depending on which one you have already installed.
- Now, when you print to FindMeBW or FindMeColor, a window asking for your credentials should pop-up. If you are staff or faculty, enter your Network ID and password. If you are a student, add “student\” before your Network ID and enter your password as usual.
- Go to any Sharp copier and swipe your Pepperdine ID card. Select the job(s) to release and retrieve your document from the print tray.